Write to the Database
We are ready to add our new comments feature.
Scaffold business logic
We'll start by scaffolding the domain code first. As mentioned in the last chapter, we'll add this to our core package.
Open up packages/core/src/article.ts and add the following two functions to the bottom of the file.
export function addComment(articleID: string, text: string) {
  // code for adding a comment to an article
}

export function comments(articleID: string) {
  // code for getting a list of comments of an article
}
Before we can implement them, we'll need to create a new table to store the comments.
Create a migration
Let's create a new migration for this.
Run this in the root of the project to create a new migration
- npm
- yarn
- pnpm
npm run gen migration new
yarn run gen migration new
pnpm run gen migration new
It'll ask you to name your migration. Type in comment.
? Migration name › comment
Once the migration is created, you should see the following in your terminal.
✔ Migration name · comment

Loaded templates: _templates
       added: packages/core/migrations/1661988563371_comment.mjs
Open up the new migration script and replace its content with:
import { Kysely } from "kysely";

/**
 * @param db {Kysely<any>}
 */
export async function up(db) {
  await db.schema
    .createTable("comment")
    .addColumn("commentID", "text", (col) => col.primaryKey())
    .addColumn("articleID", "text", (col) => col.notNull())
    .addColumn("text", "text", (col) => col.notNull())
    .execute();
}

/**
 * @param db {Kysely<any>}
 */
export async function down(db) {
  await db.schema.dropTable("comment").execute();
}
This migration will create a new table called comment. While undoing the migration will drop the table.
Run a migration
Let's go ahead and run the migration.
Go to the RDS tab in SST Console and click Apply on our comment migration.
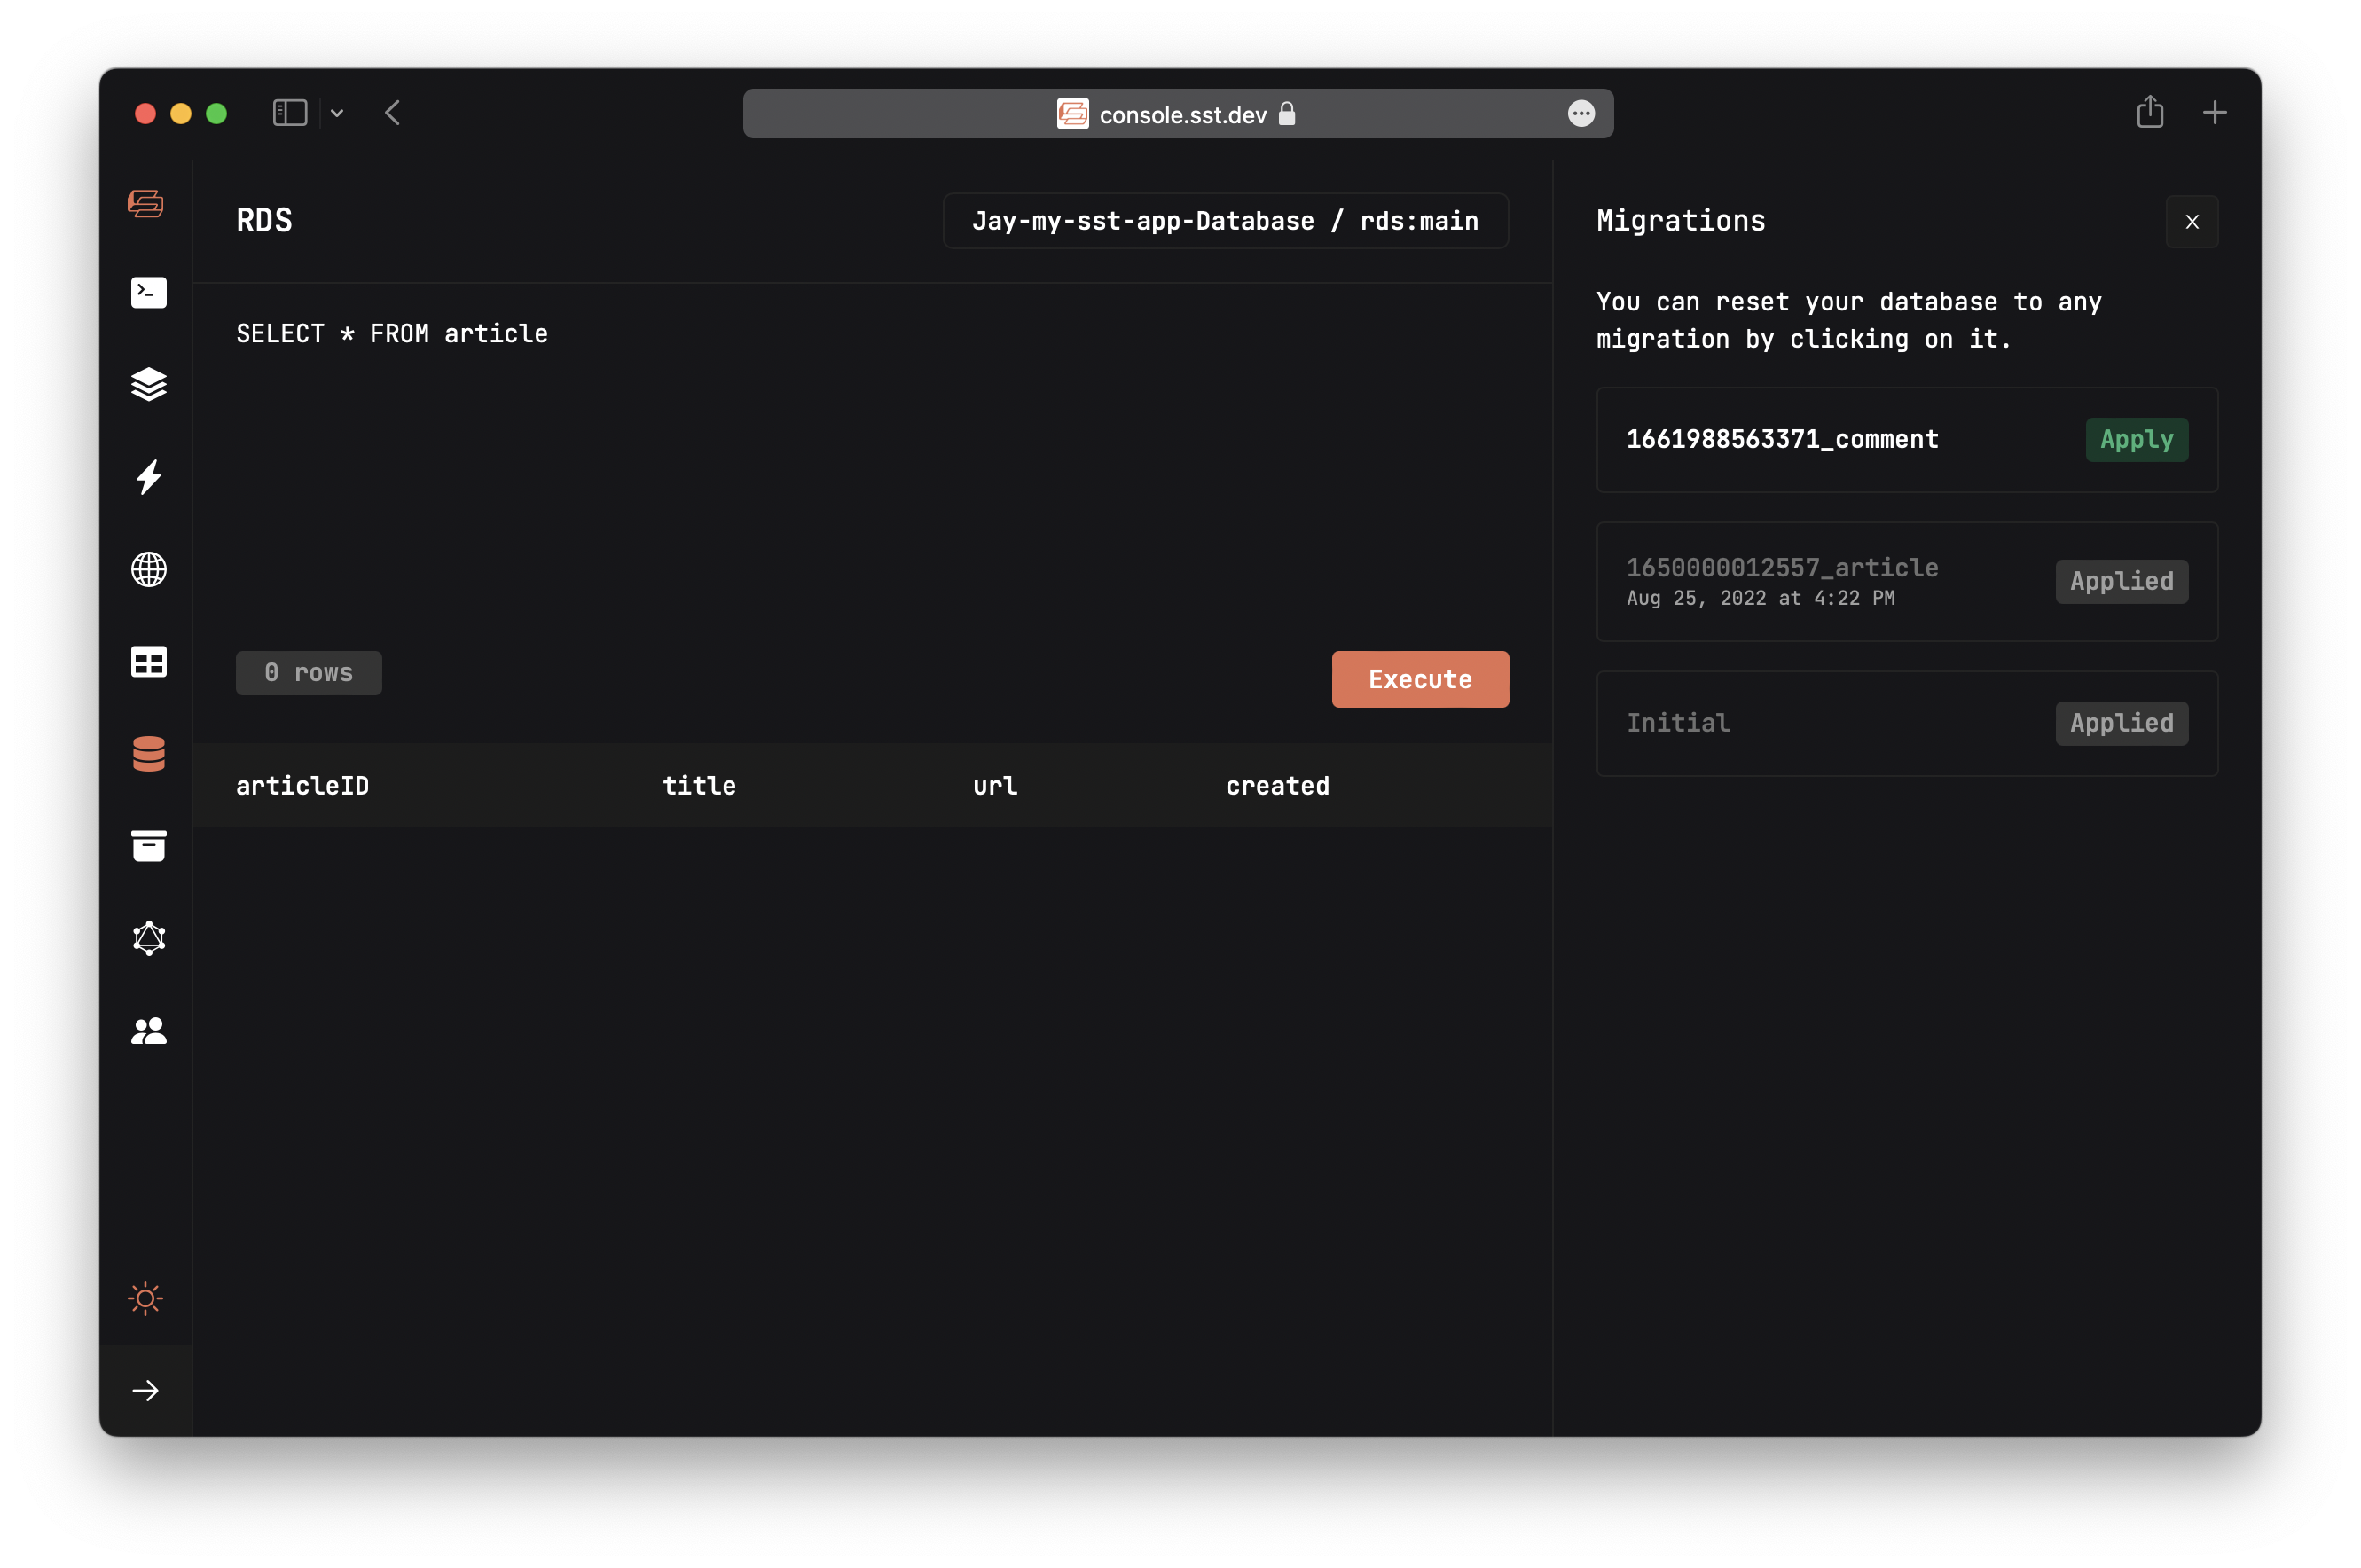
To verify that the table has been created; enter the following in the query editor, and hit Execute.
SELECT * FROM comment
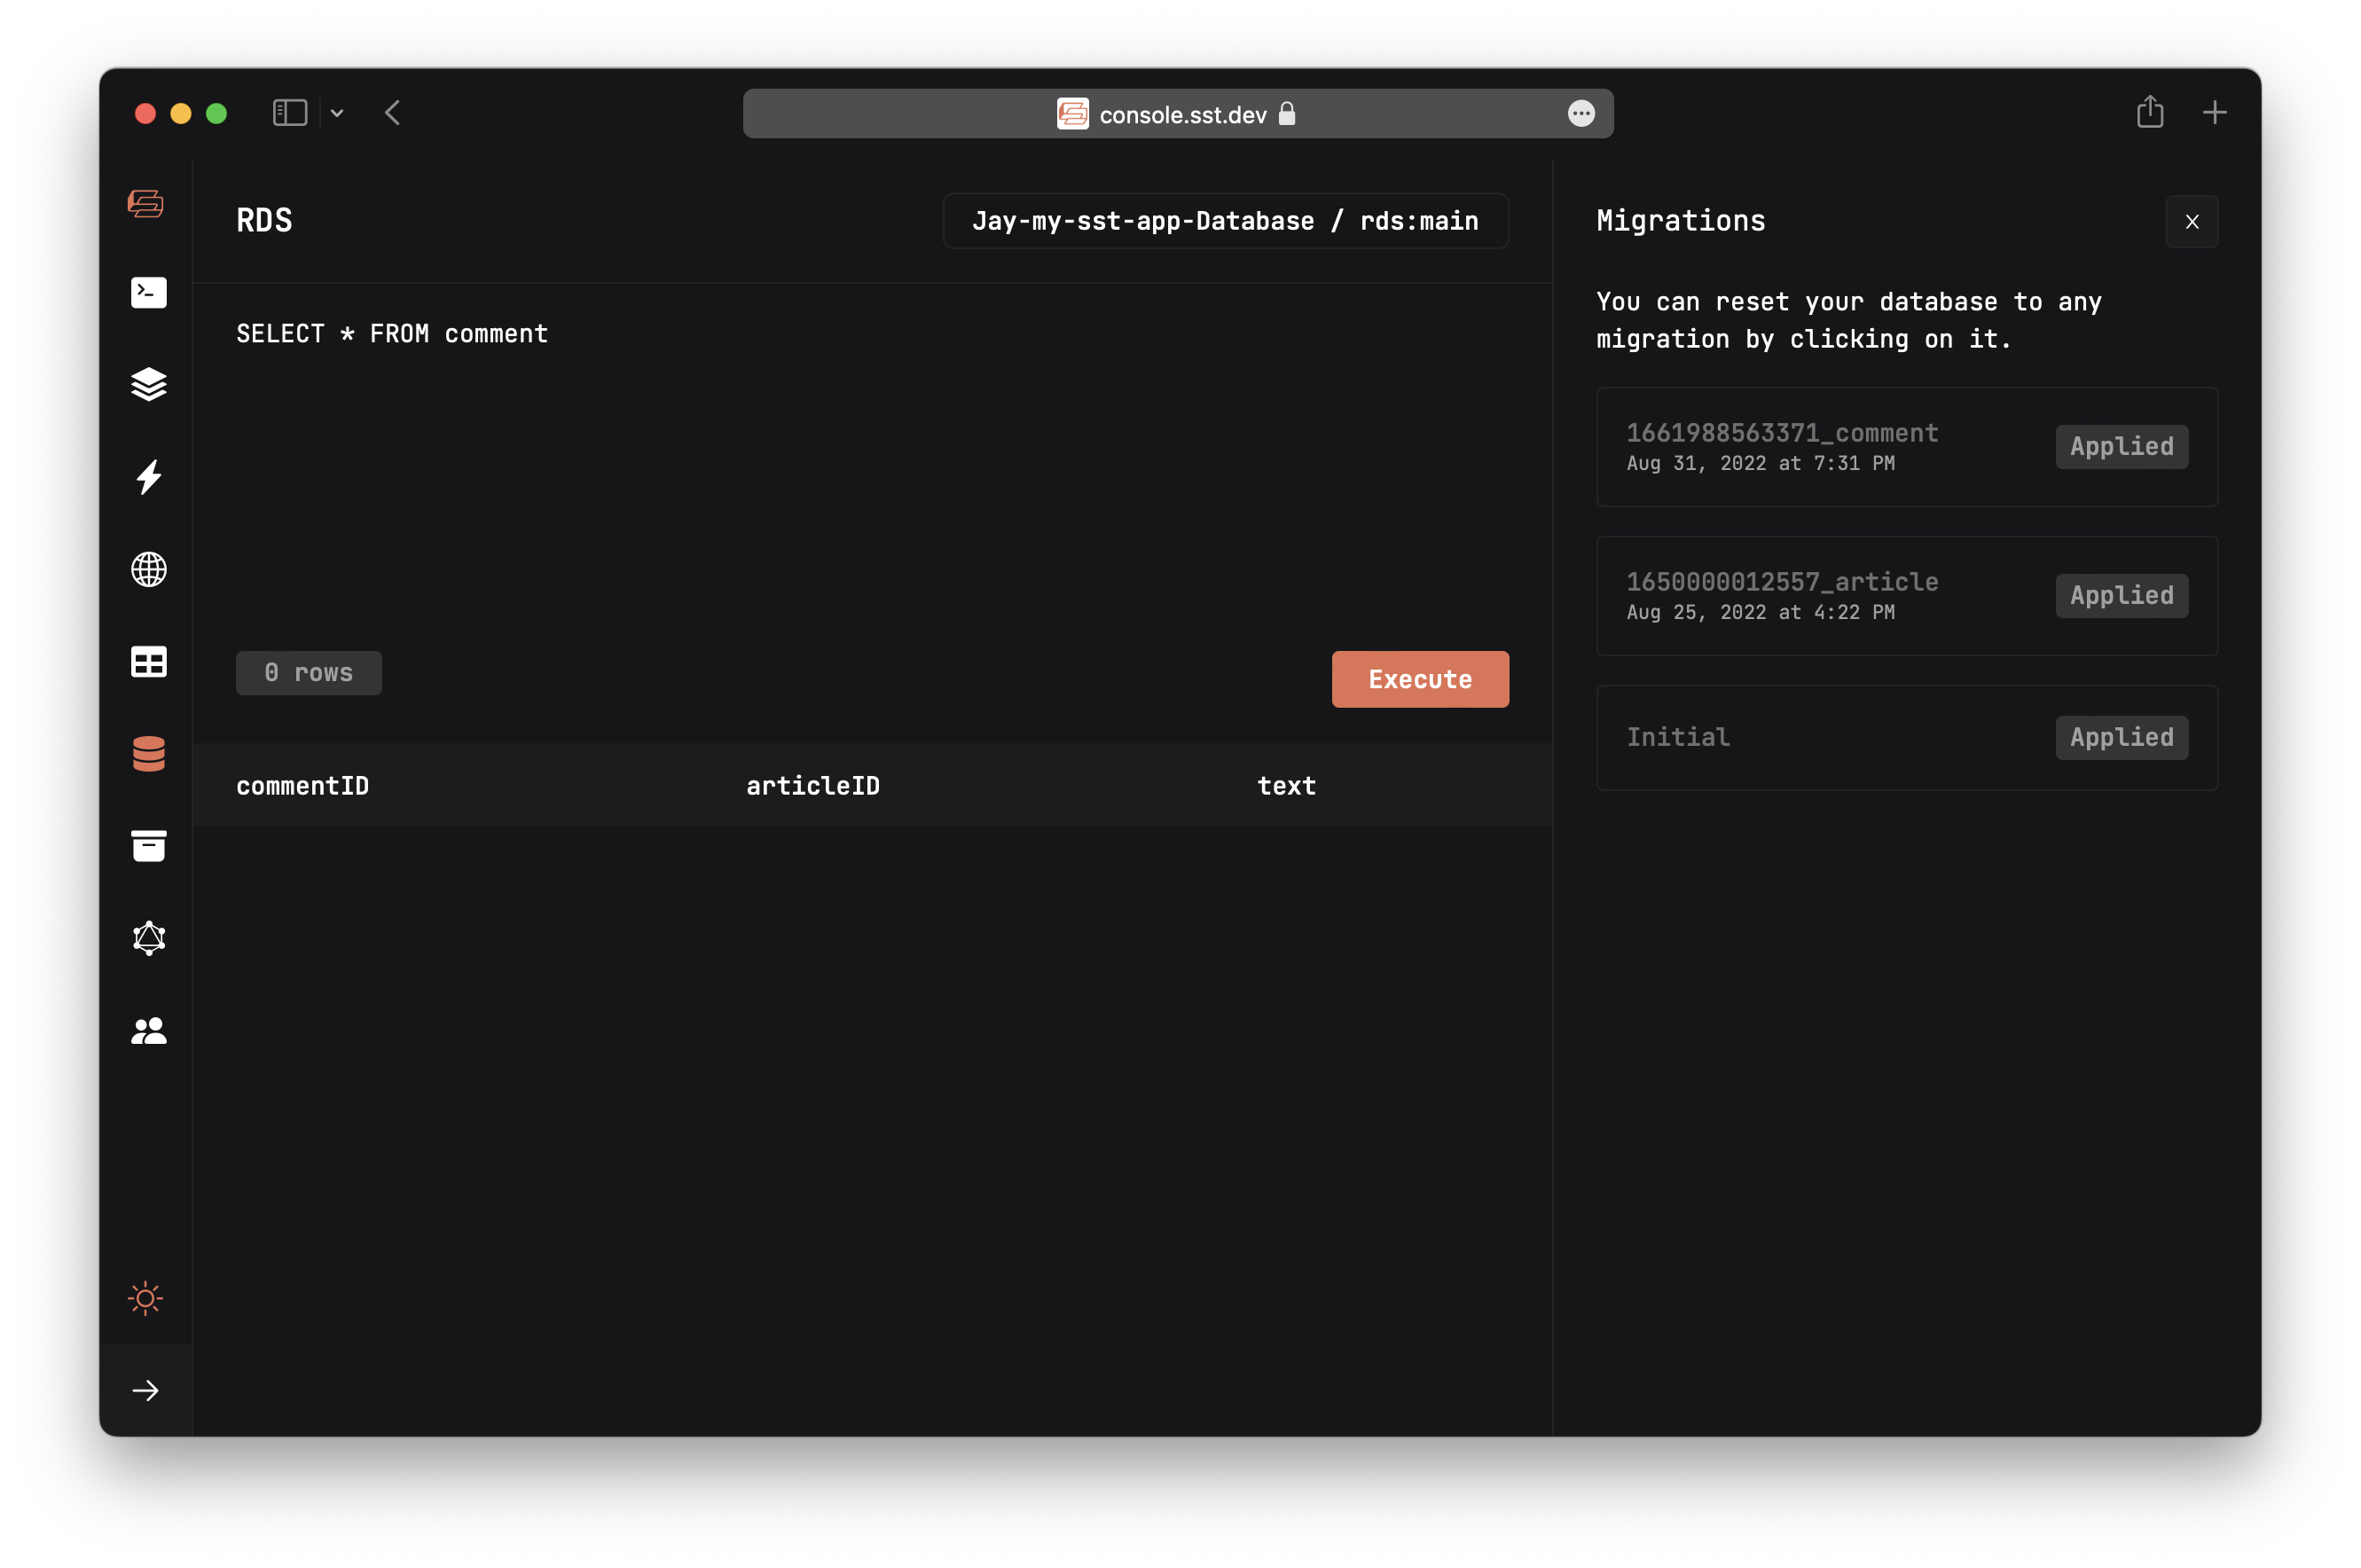
You should see 0 rows being returned.
Query the table
We are now ready to implement the addComment and comments functions.
Replace the two placeholder functions in packages/core/src/article.ts with:
export function addComment(articleID: string, text: string) {
  return SQL.DB.insertInto("comment")
    .values({
      commentID: ulid(),
      articleID,
      text,
    })
    .returningAll()
    .executeTakeFirstOrThrow();
}

export function comments(articleID: string) {
  return SQL.DB.selectFrom("comment")
    .selectAll()
    .where("articleID", "=", articleID)
    .execute();
}
We are using Kysely to run typesafe queries against our database.
Behind the scenes
There are a couple of interesting details here, let's dig in:
SQL.DBis the Kysely instance imported frompackages/core/src/sql.ts.packages/core/src/sql.tsexport const DB = new Kysely<Database>({
dialect: new DataApiDialect({
mode: "postgres",
driver: {
secretArn: RDS.db.secretArn,
resourceArn: RDS.db.clusterArn,
database: RDS.db.defaultDatabaseName,
client: new RDSDataService(),
},
}),
});RDSis coming from the SST Node client package.packages/core/src/sql.tsimport { RDS } from "sst/node/rds";It has access to the config of our database, thanks to Resource Binding. You might recall us binding our database to the functions in our API back in the Project Structure chapter.
stacks/Api.tsfunction: {
bind: [rds],
},By binding the
rdscluster to our API instacks/Api.ts, our API can access the database ARN (an ARN is an AWS identifier), database name, and ARN of the secret to access the database in our functions.The Kysely instance also needs a
Databasetype. This is coming frompackages/core/src/sql.generated.ts.packages/core/src/sql.generated.tsexport interface Database {
article: Article;
comment: Comment;
}The keys of this interface are the table names in our database. And they in turn point to other interfaces that list the column types of the respective tables. For example, here's the new
Commenttable we just created:export interface Comment {
articleID: string;
commentID: string;
text: string;
}The
sql.generated.tstypes file, as you might've guessed in auto-generated. Our infrastructure code generates this when a new migration is run!It's defined in
stacks/Database.ts.stacks/Database.tsconst rds = new RDS(stack, "rds", {
engine: "postgresql11.13",
migrations: "packages/core/migrations",
types: "packages/core/src/sql.generated.ts",
defaultDatabaseName: "main",
});Even though this file is auto-generated, you should check it into Git. We'll be relying on it later on in this tutorial.
Now with our business logic and database queries implemented, we are ready to hook up our API.