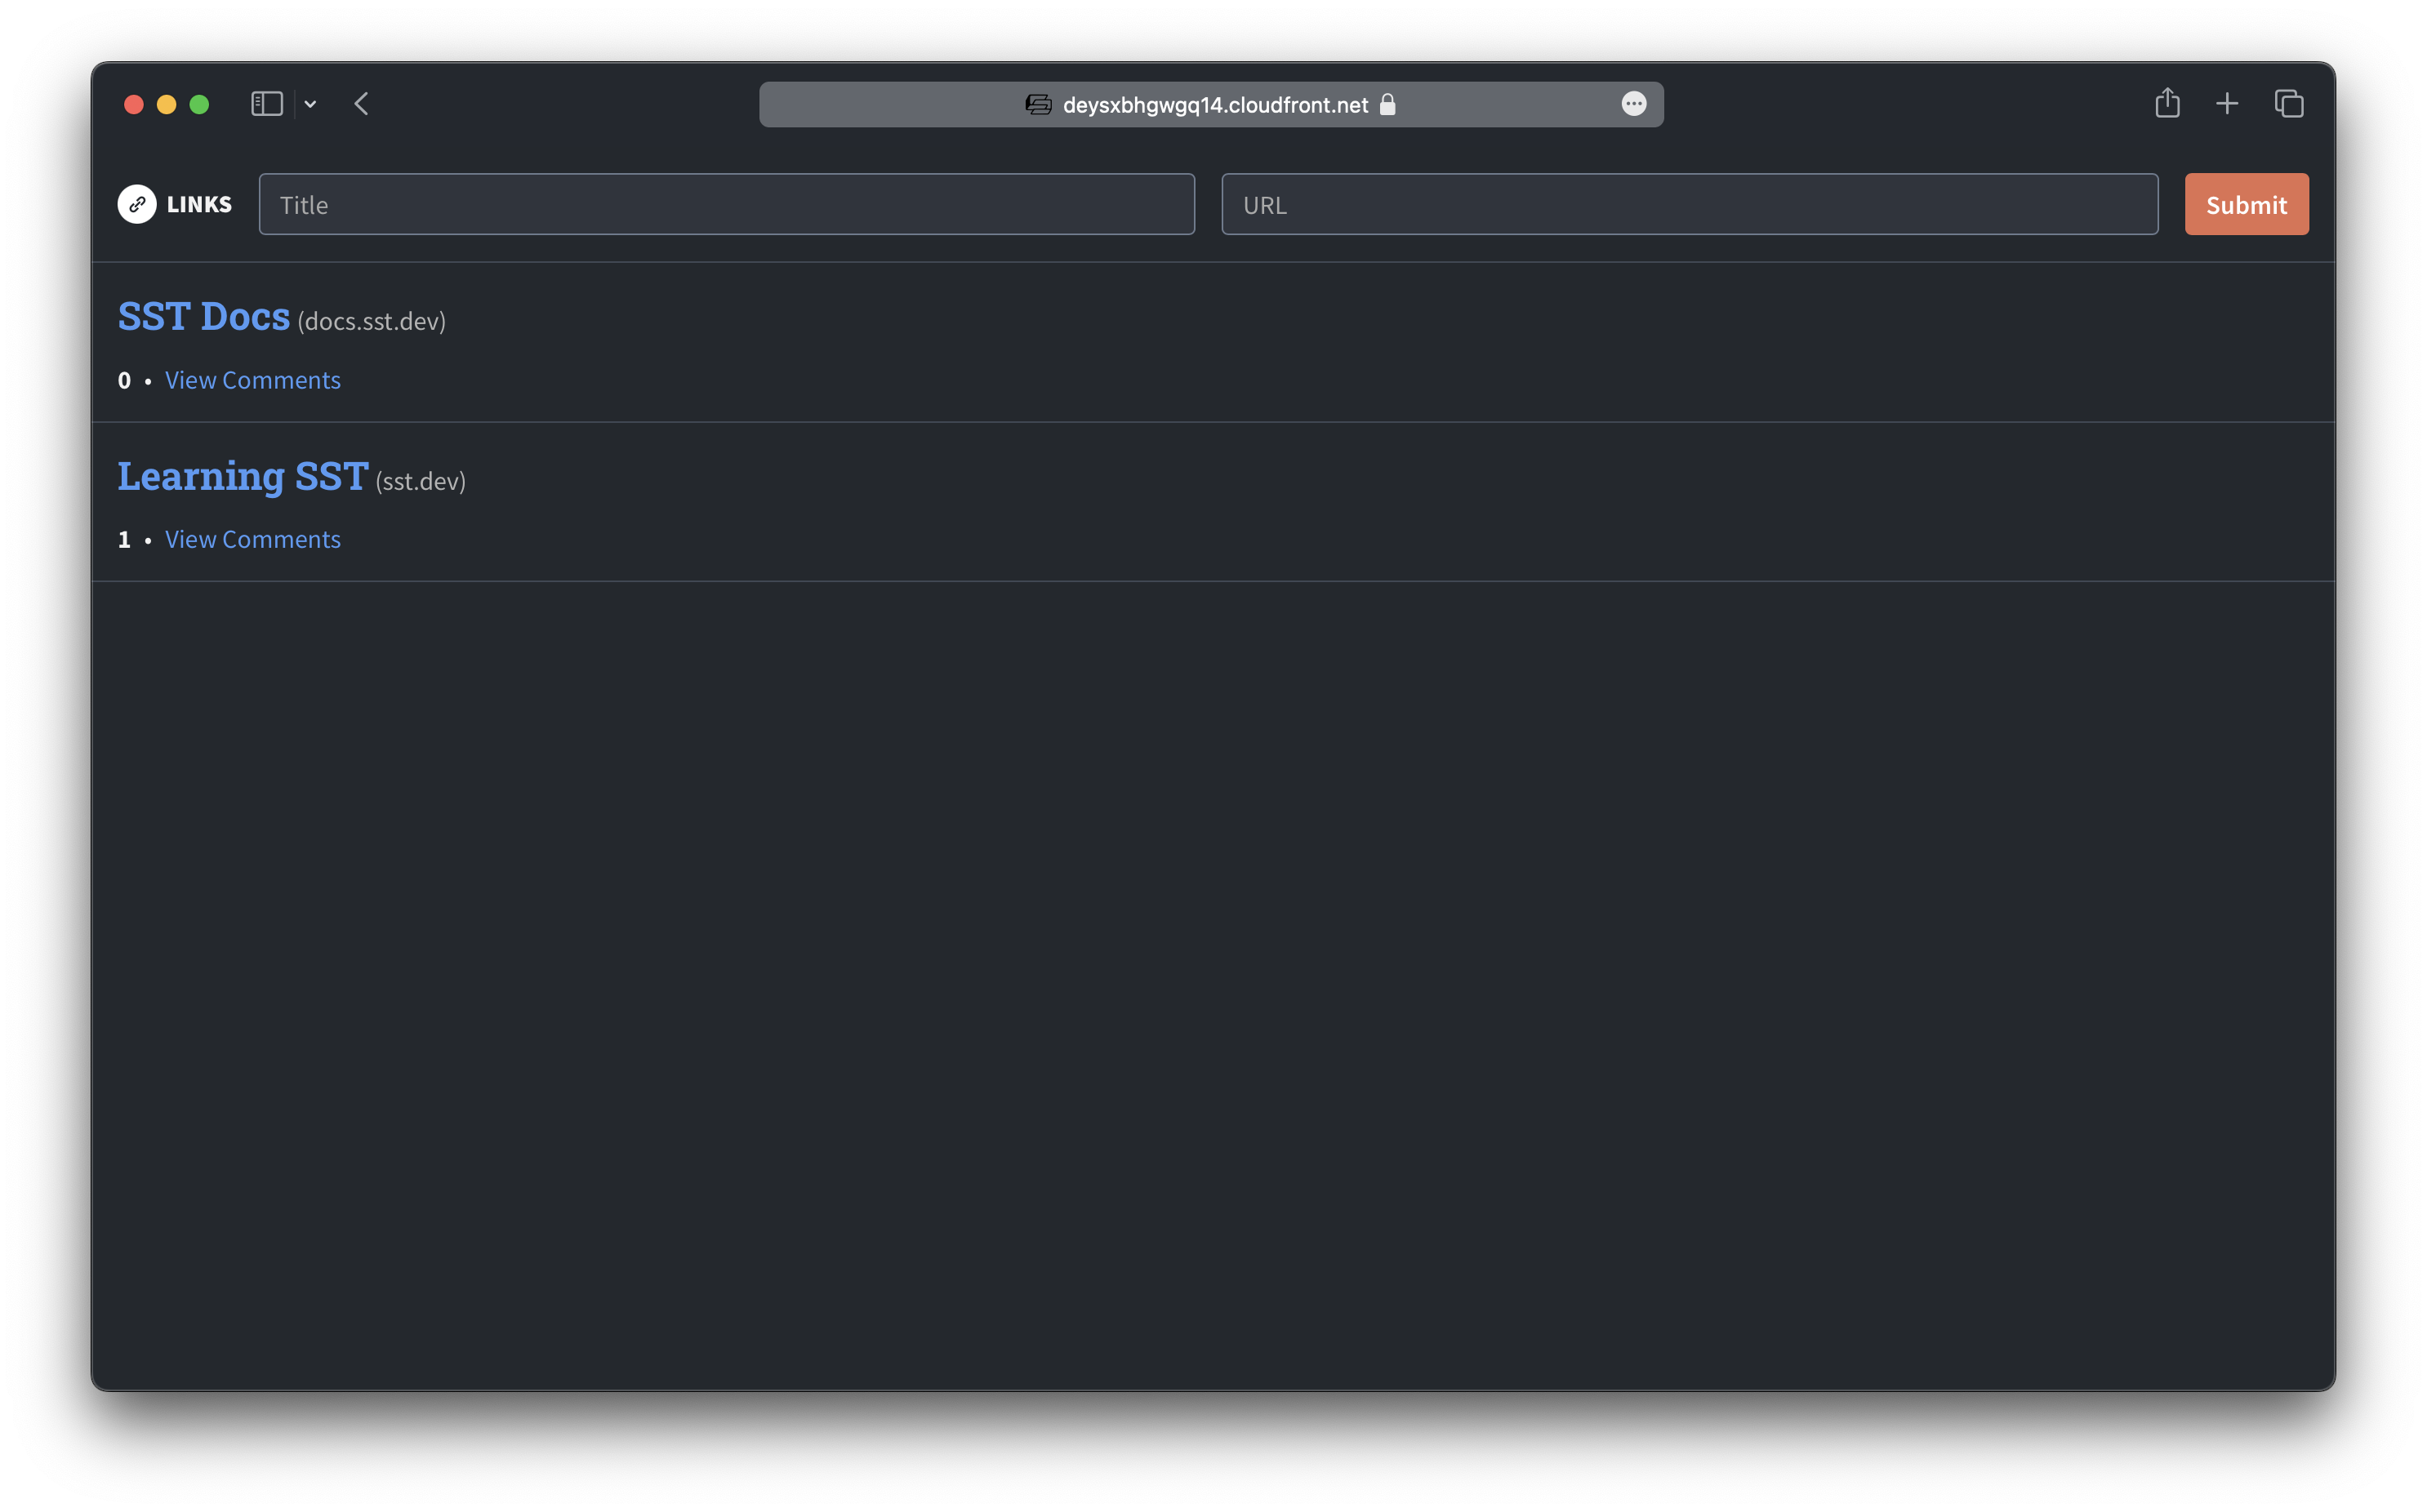
Deploy to Prod
Let's deploy our app to production. So we can share it with the world!
Deploy with the CLI
The easiest way to go to production is by deploying using the CLI.
Stop the sst dev process in the CLI. And run this instead.
npx sst deploy --stage prod
Make sure to run this at the root of the project.
The key difference here is that we are passing in a stage for the command. You might recall from the "Create a New Project" chapter that SST uses the stage to namespace the resources it creates.
Running sst deploy with --stage prod is creating a new instance of your application. This separates it from the one you are using for development. So when you make changes locally, your users are not affected by it.

Git push to deploy
You can also set it up so that your app deploys to production when you git push.
To do this, you'll first want to push your code to a Git provider. You can use something like GitHub for this. Then connect it to a CI/CD service to deploy your app.
There are a bunch of general purpose CI/CD services out there. These are designed to work with different kinds of applications and workflows. But they need to be configured so that they work with SST.
On the other hand, there's Seed.
Seed
Seed is built by the team behind SST and is designed specifically for serverless apps. So there's nothing to configure.
tip
We recommend using Seed to git push to deploy your SST apps.
It supports the pull request workflow and automatically setting up and tearing down preview deployments out of the box.
There are a couple of other reasons why Seed is a good fit for SST.
Speed
It's the fastest way to deploy your apps. Seed automatically caches dependencies to speed up your builds.
Free
Seed also directly plugs into the SST deployment process. So when an SST app is waiting for CloudFormation to update your stacks, Seed pauses the build process and does this asynchronously. This allows Seed to make SST deployments very efficient and offer it to you for free!
Once your app is in a repo with GitHub, follow these steps in the Seed docs to add your SST app.
Other providers
Other general purpose CI/CD providers include:
You'll need to add a build script to set things up.
- Deploy to prod using
sst deploy --stage prodwhen you push tomaster. - Deploy a new preview environment when a PR is created
sst deploy --stage <pr>. - Remove the preview environment when the PR is closed
sst remove --stage <pr>.
Next steps
And that's it! You now know the basics of SST and have a solid background on the setup that we recommend.
Your fully functioning app is also deployed and ready to be shared. You can manage it with the SST Console and Git push to deploy it with Seed!
If you are looking to extend this setup, check out the docs sidebar menu. We have detailed chapters on specific aspects of building your app.