Start the Frontend
We are now ready to move on to the frontend.
You can start your frontend app locally, like you normally would. And it can connect to the API that's running using SST's Live Lambda Dev. That way you can make changes live in your API and it'll reflect right away in the frontend.
Start frontend
So let's go ahead and start our frontend.
Run the following in your project root.
- npm
- yarn
- pnpm
cd packages/web
npm run dev
cd packages/web
yarn run dev
cd packages/web
pnpm run dev
You'll recall from the Project Structure chapter that the starter comes with a React app created using Vite.
Once our React app is up and running, you should see the following in your terminal.
vite v2.9.15 dev server running at:

> Local: http://localhost:3000/
> Network: use `--host` to expose

ready in 346ms.
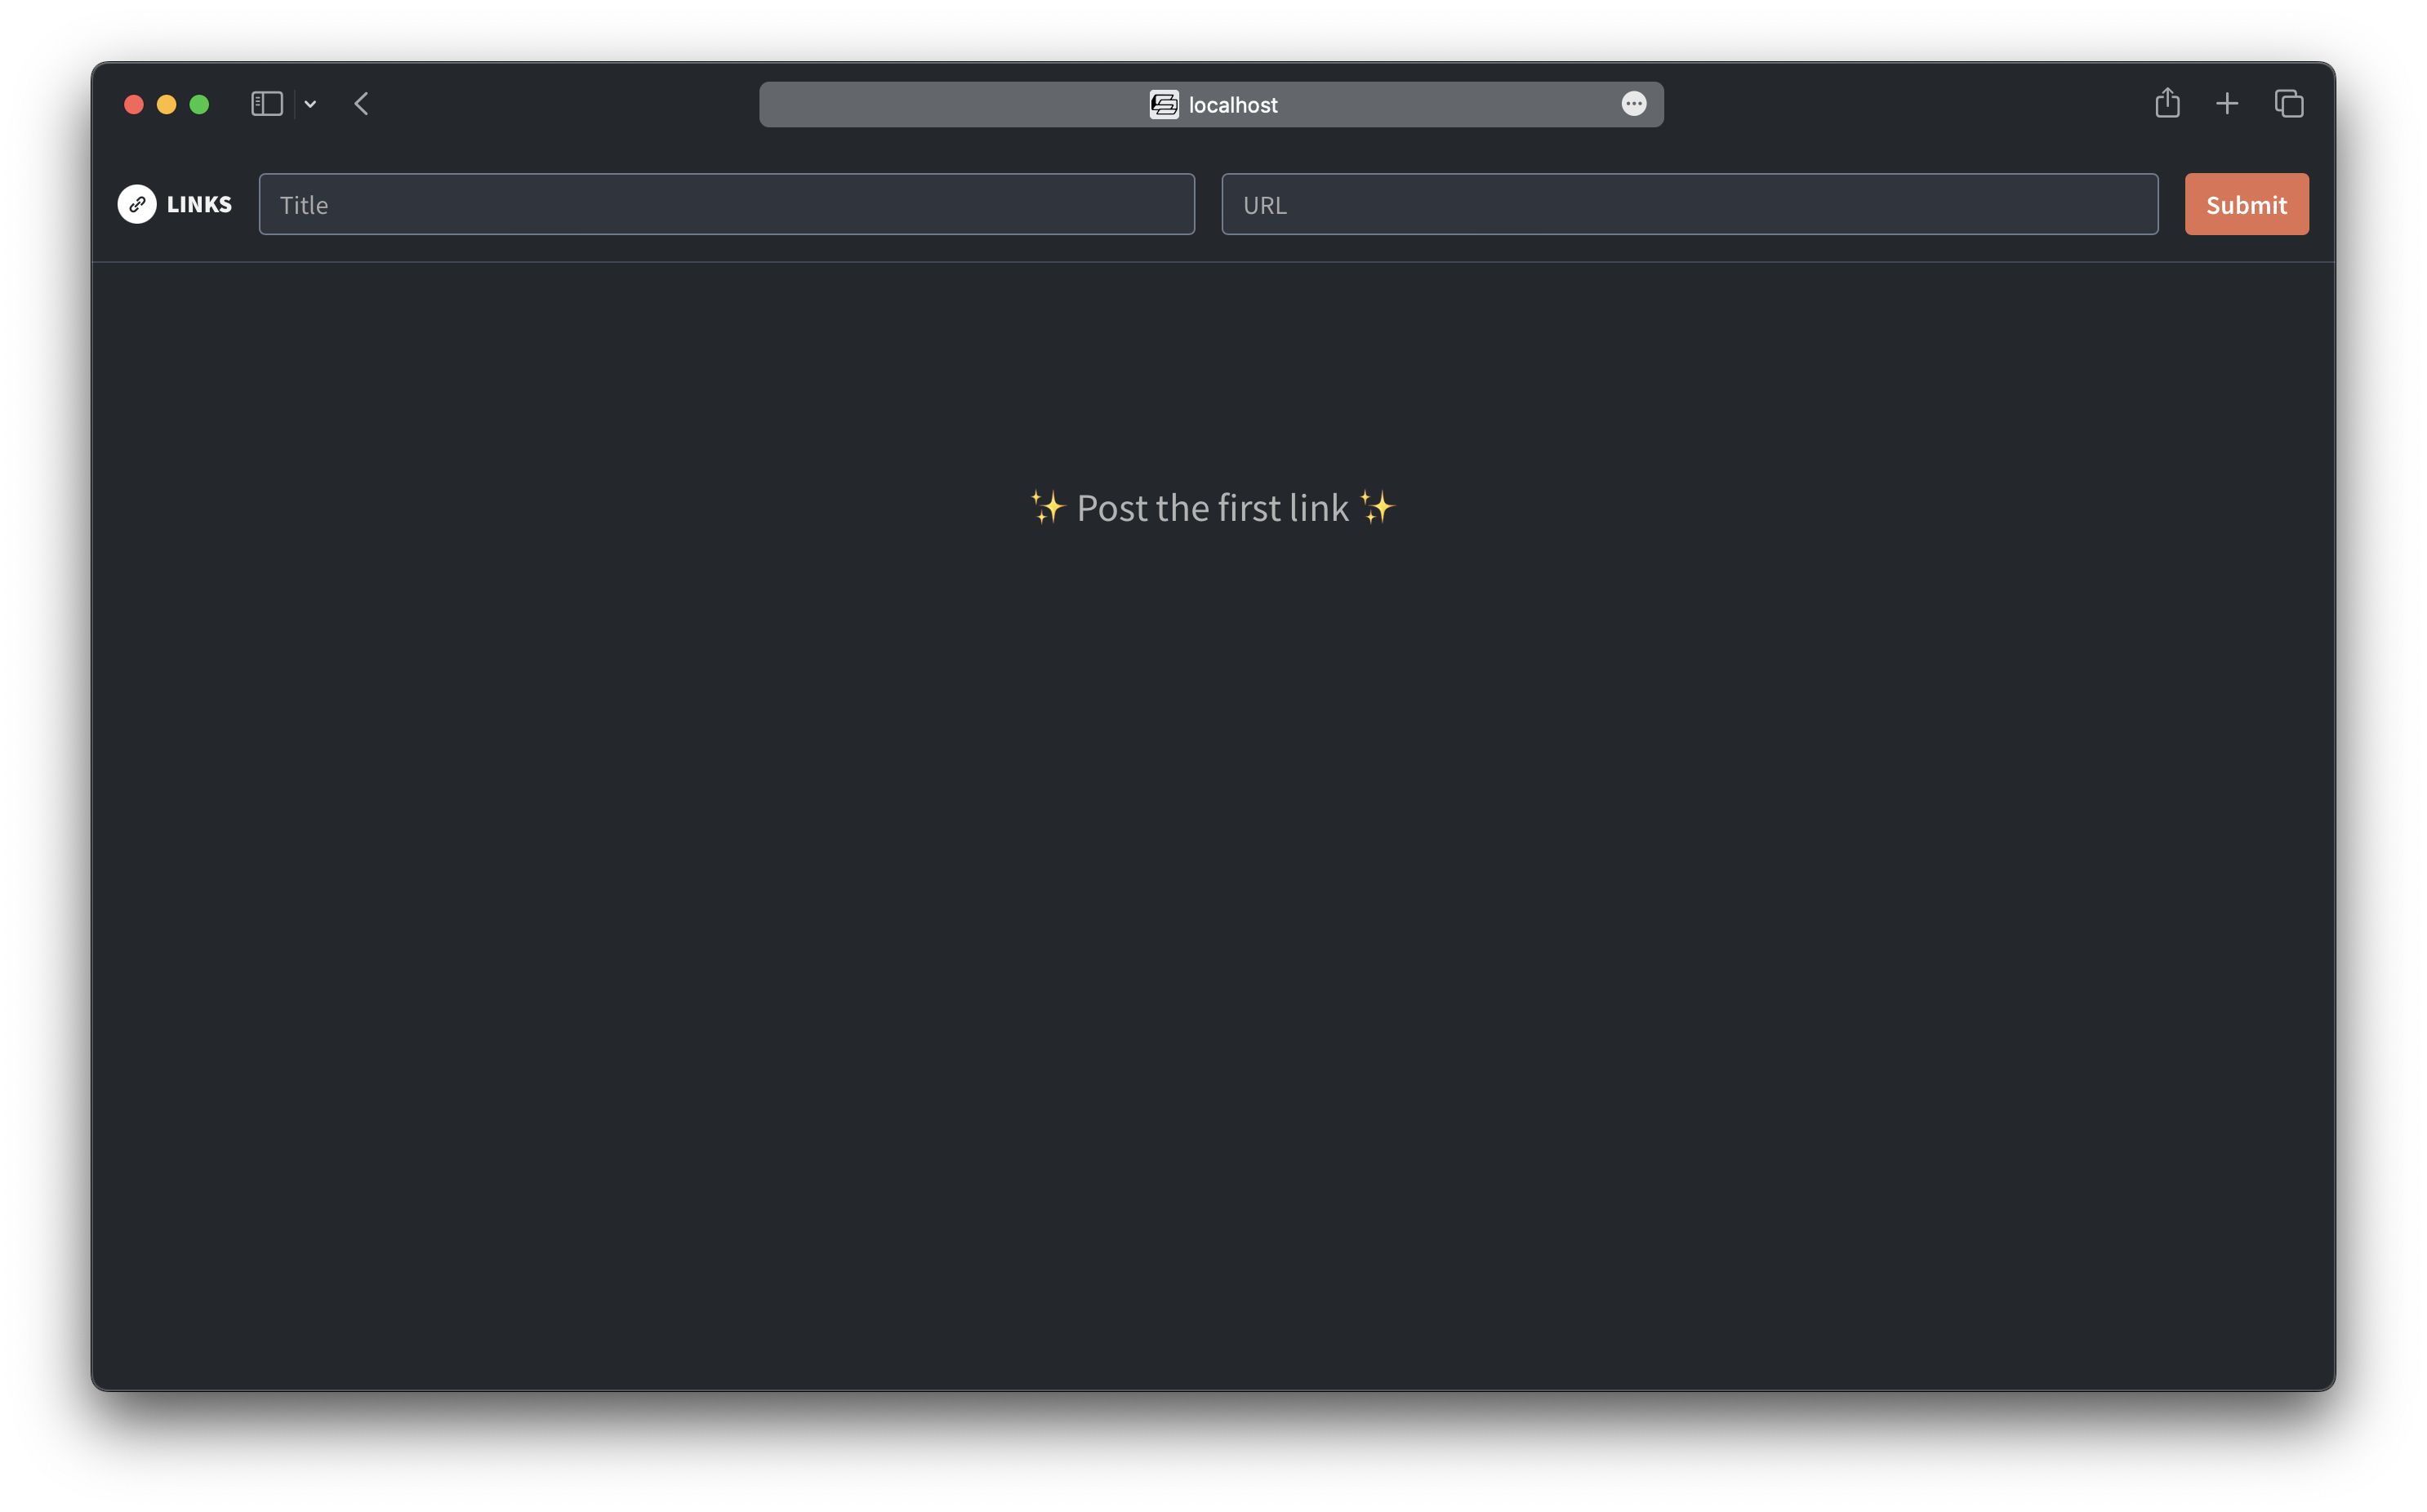
Open that link in your browser, http://localhost:3000/. You should see the homepage of our app.
Load the homepage
It displays a list of articles. We currently don't have any links in the system, so this list should be empty.
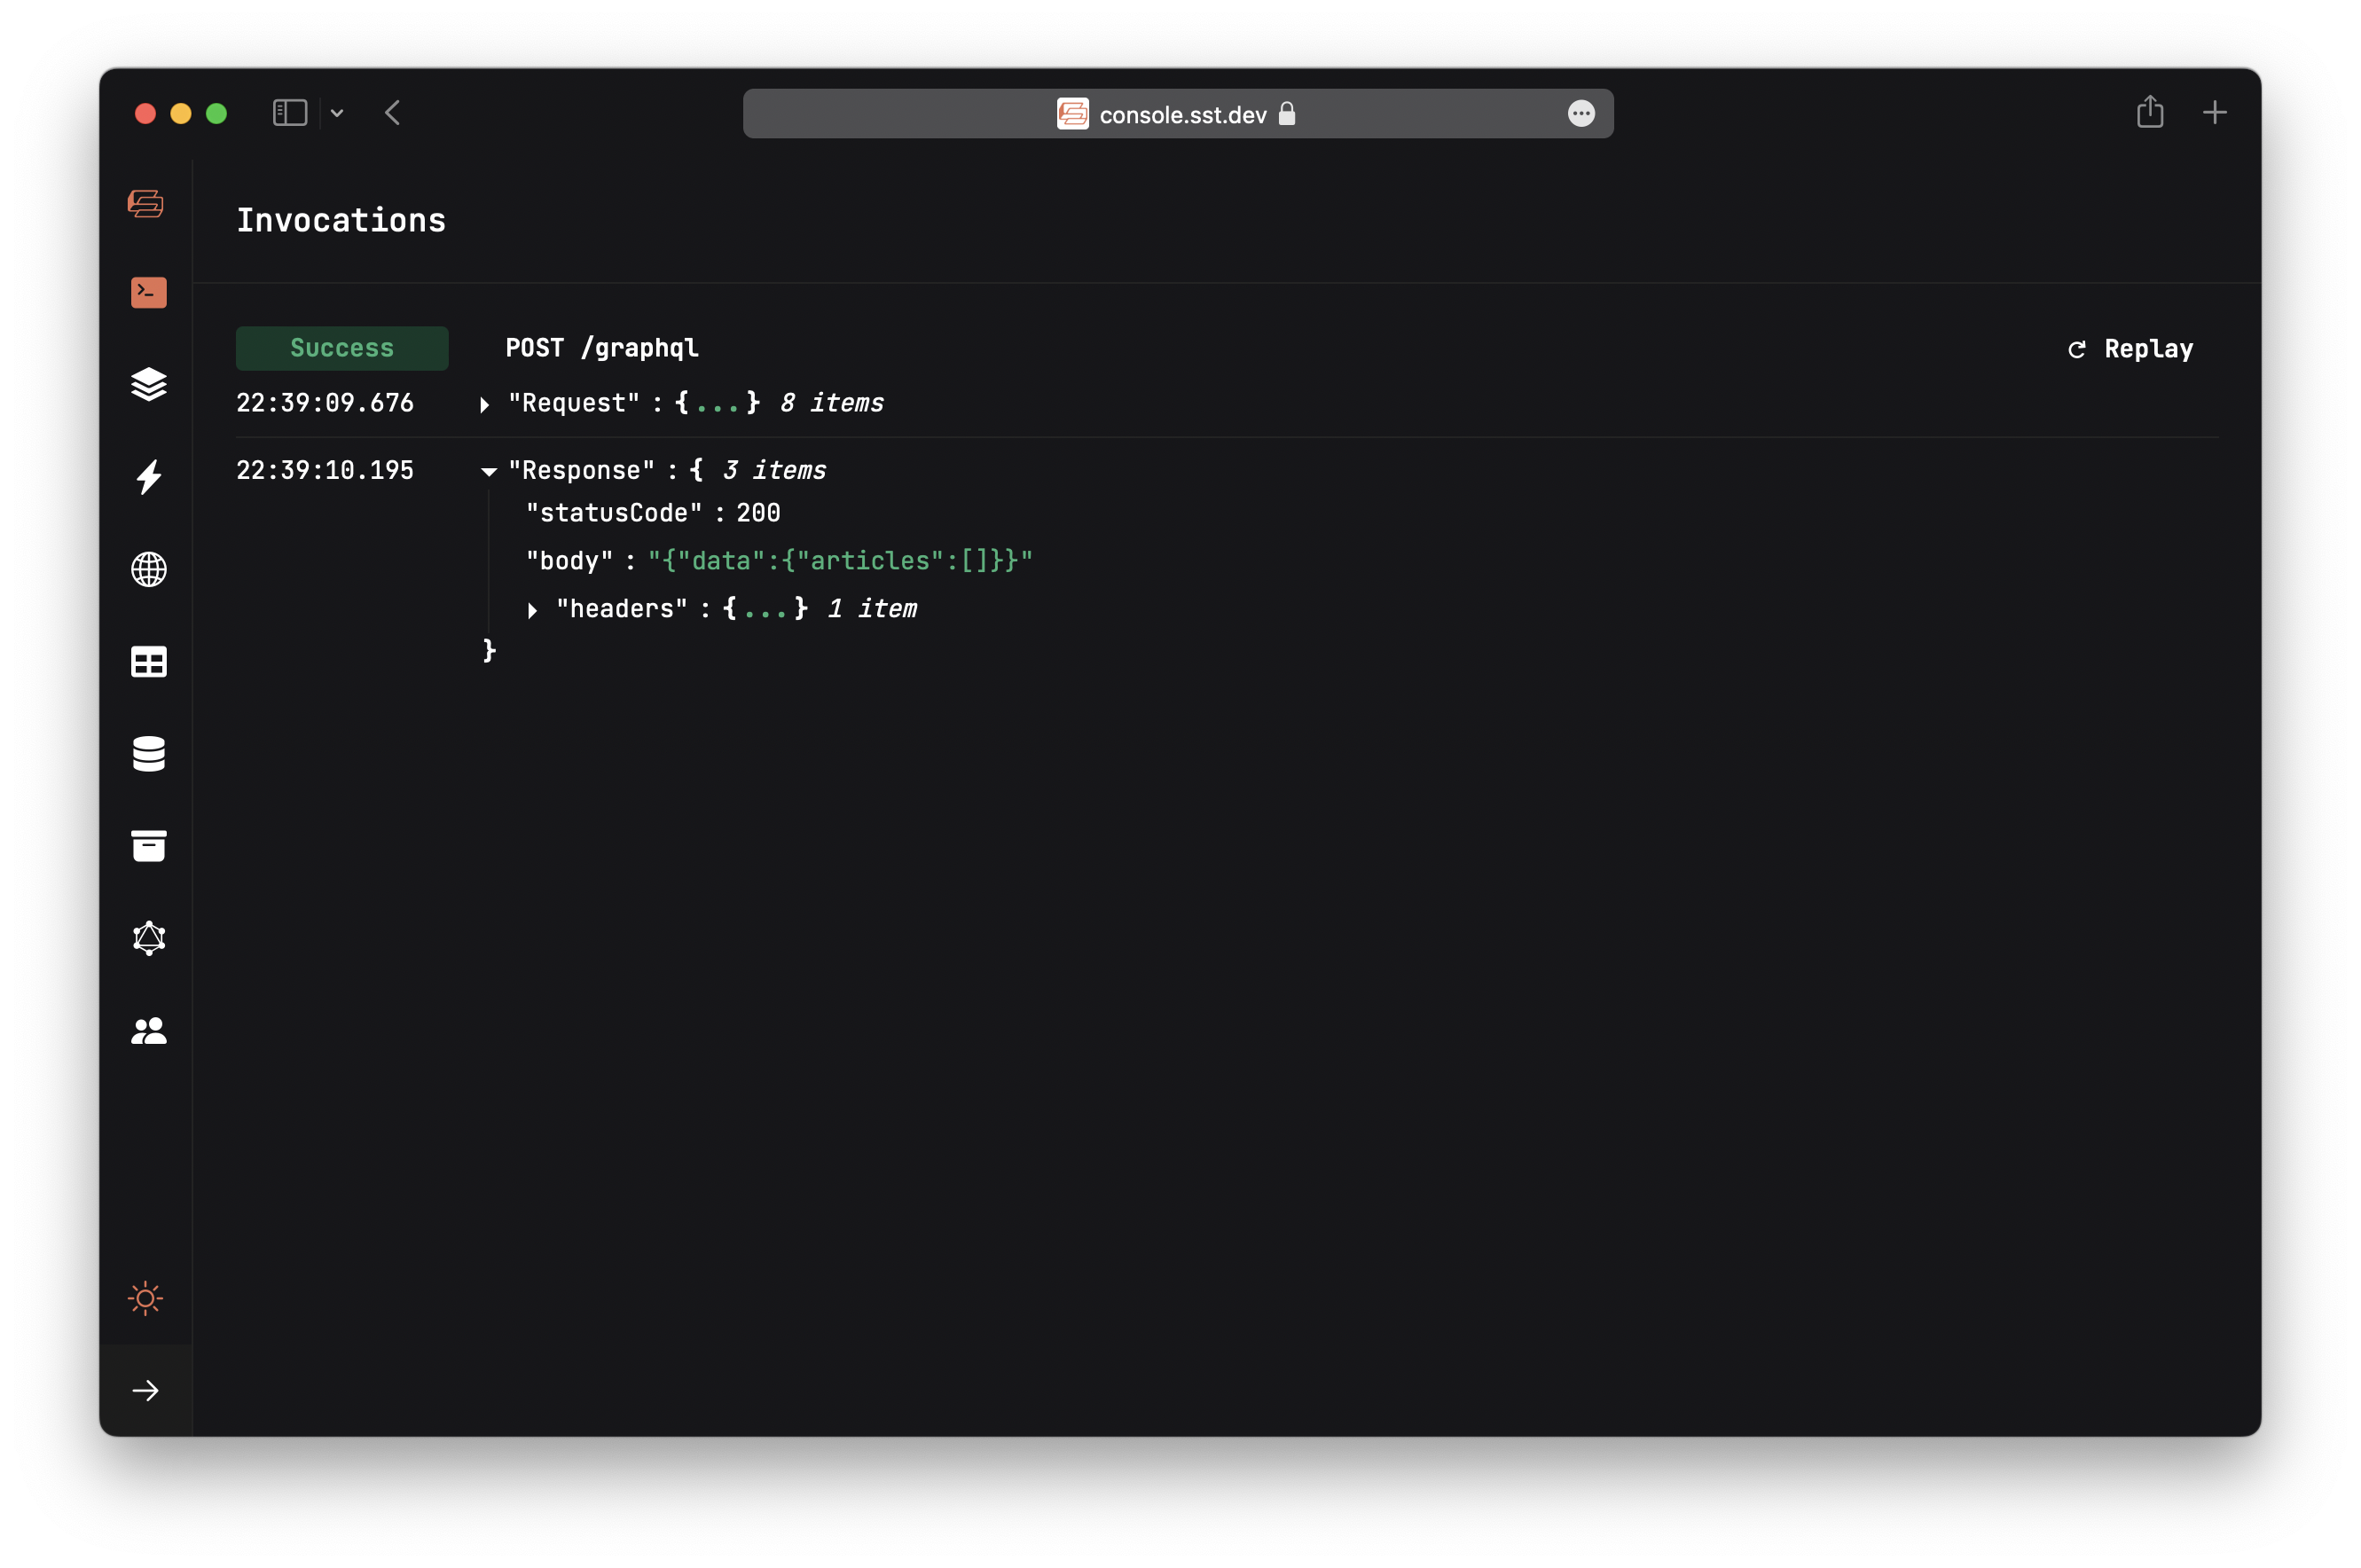
Over on the Console; you'll find the Live Lambda logs in the Local tab.
There, should see a POST /graphql request that was made. And the response body should say "articles":[].
Behind the scenes
This seemingly simple workflow deserves a quick behind the scenes look. Here's what's happening:
- Your frontend is running locally.
- It makes a request to a GraphQL endpoint that's running in AWS.
- That invokes a Lambda function in AWS.
- The Lambda function request is then proxied to your local machine.
- The local version of that function is run.
- It makes a query to an RDS Postgres database that's in AWS.
- The logs for the function execution are displayed in the Console.
- The results of that execution are sent back to AWS.
- Your frontend then renders those results.
Note that everything here happens in real-time. There's no polling or syncing!
Let's try posting an article.
Post an article
Type in Learning SST as the title, and https://sst.dev for the URL. Click Submit.
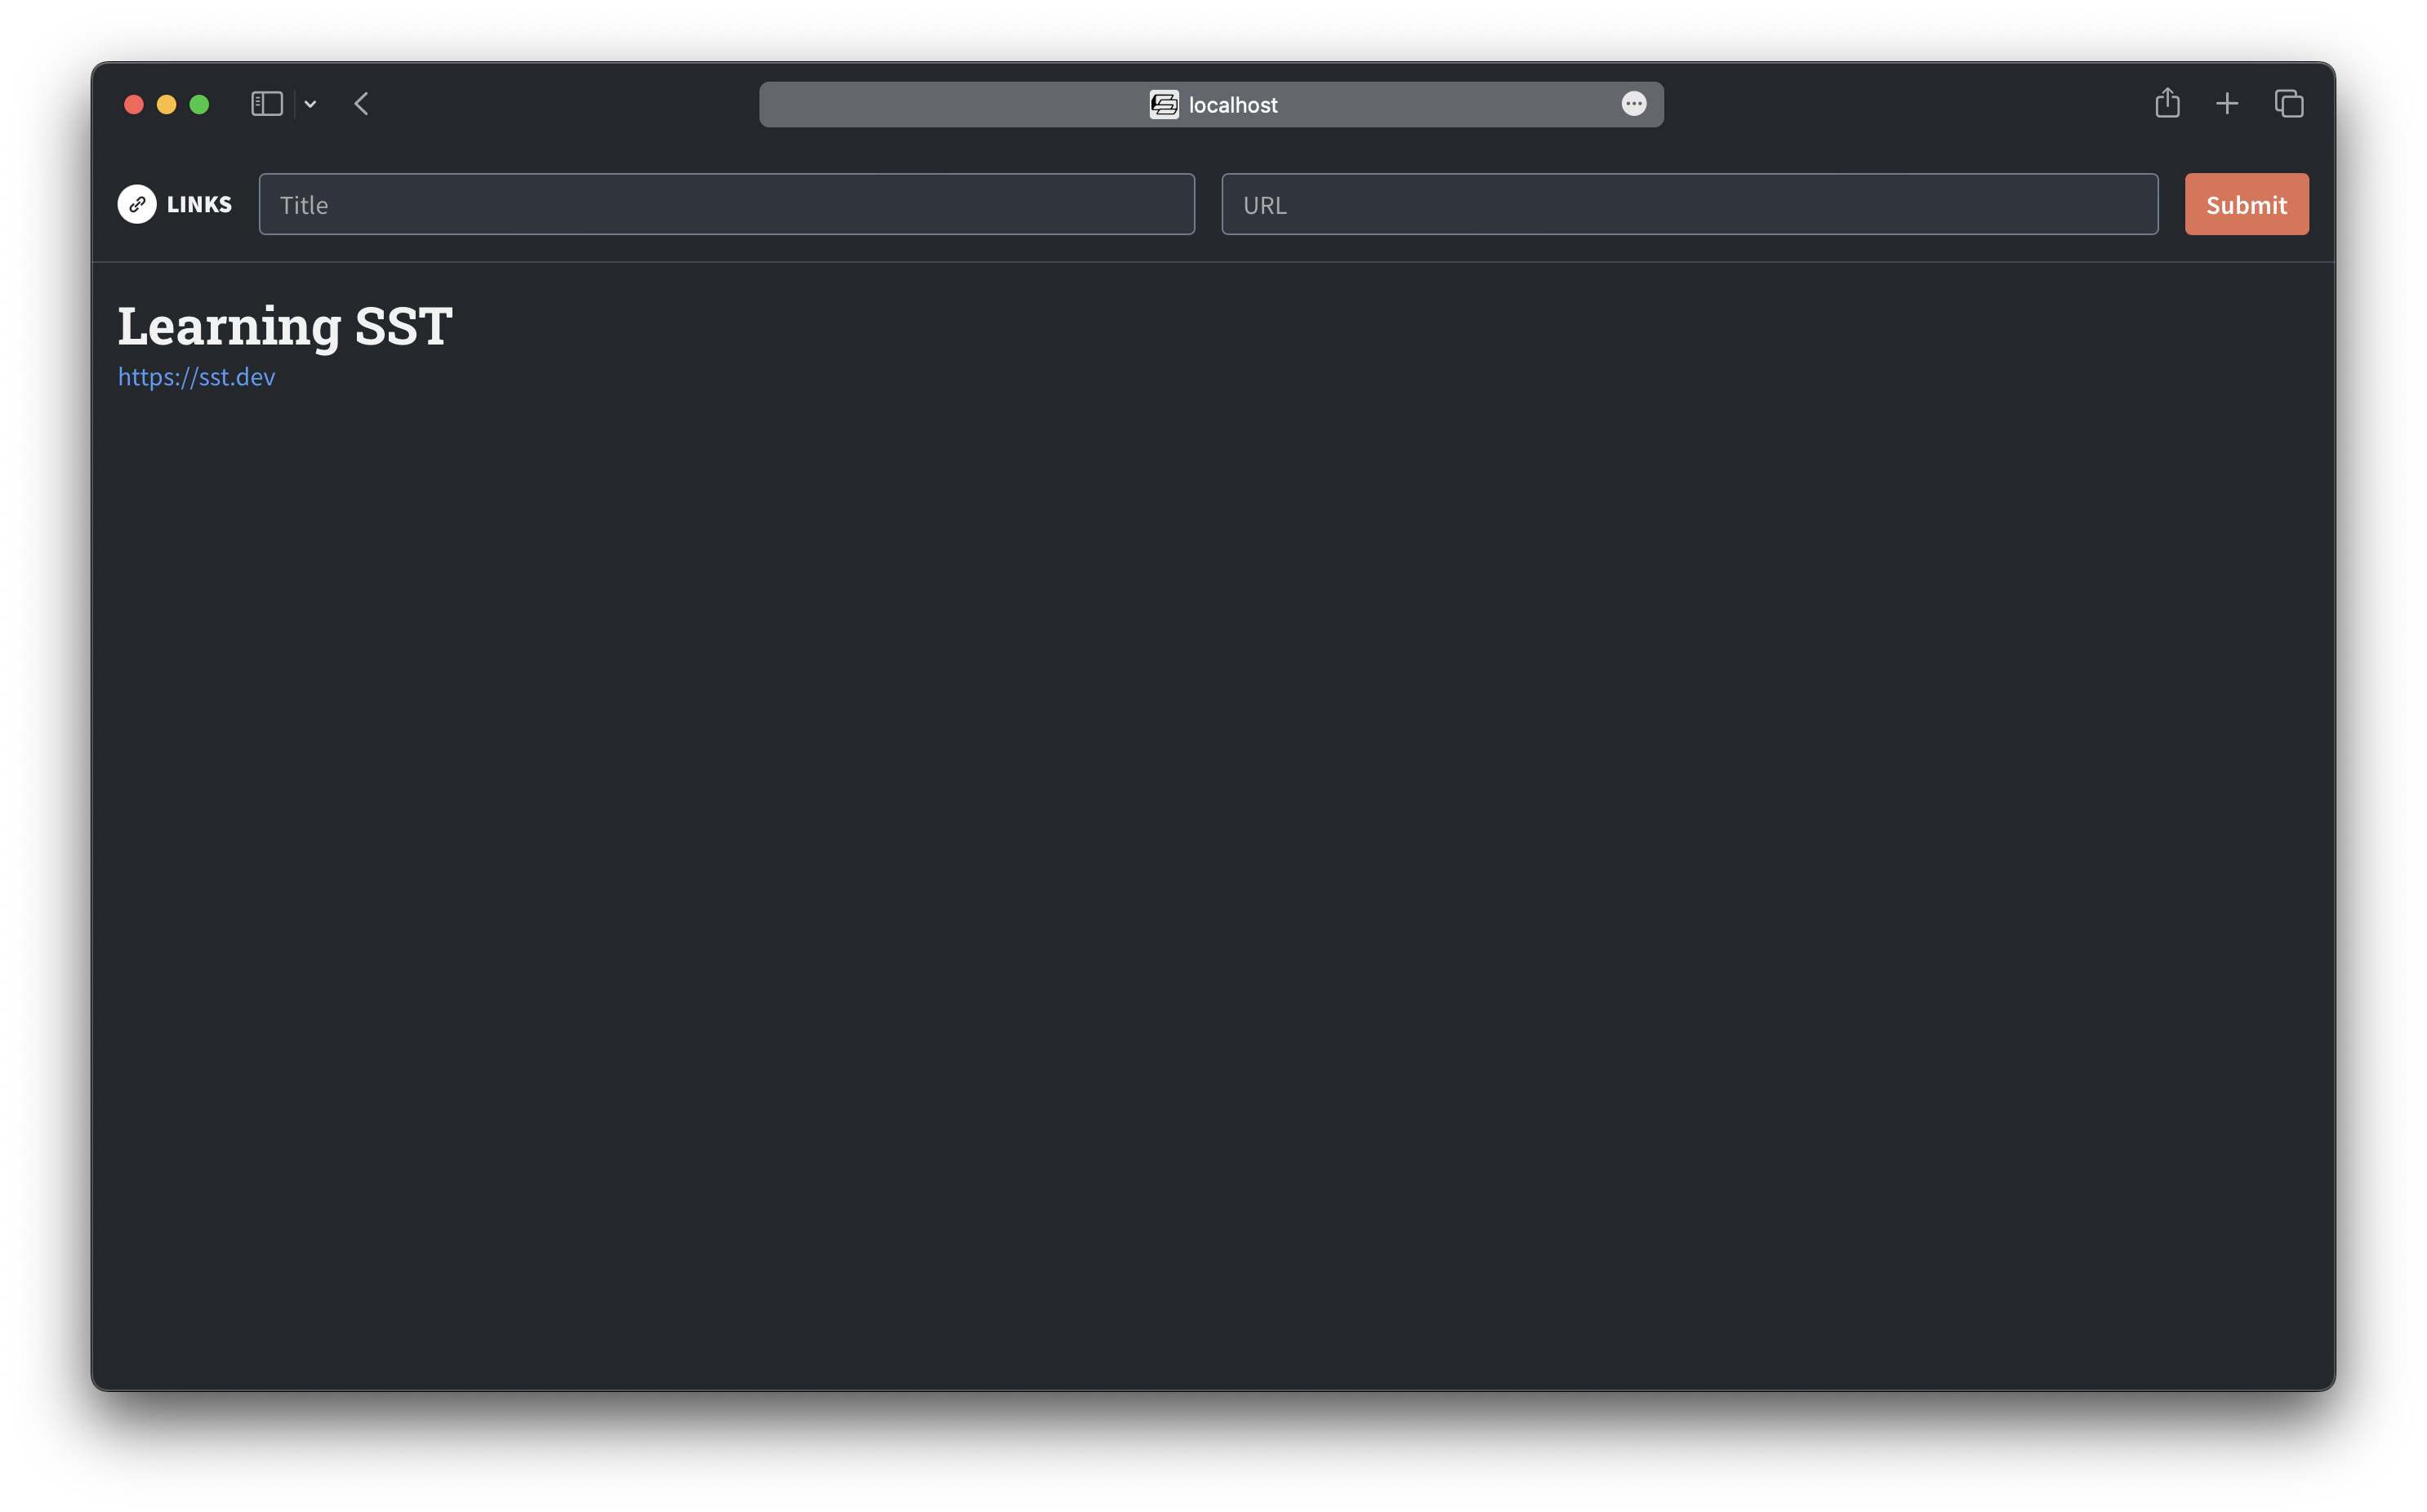
You should see a page with the new article.
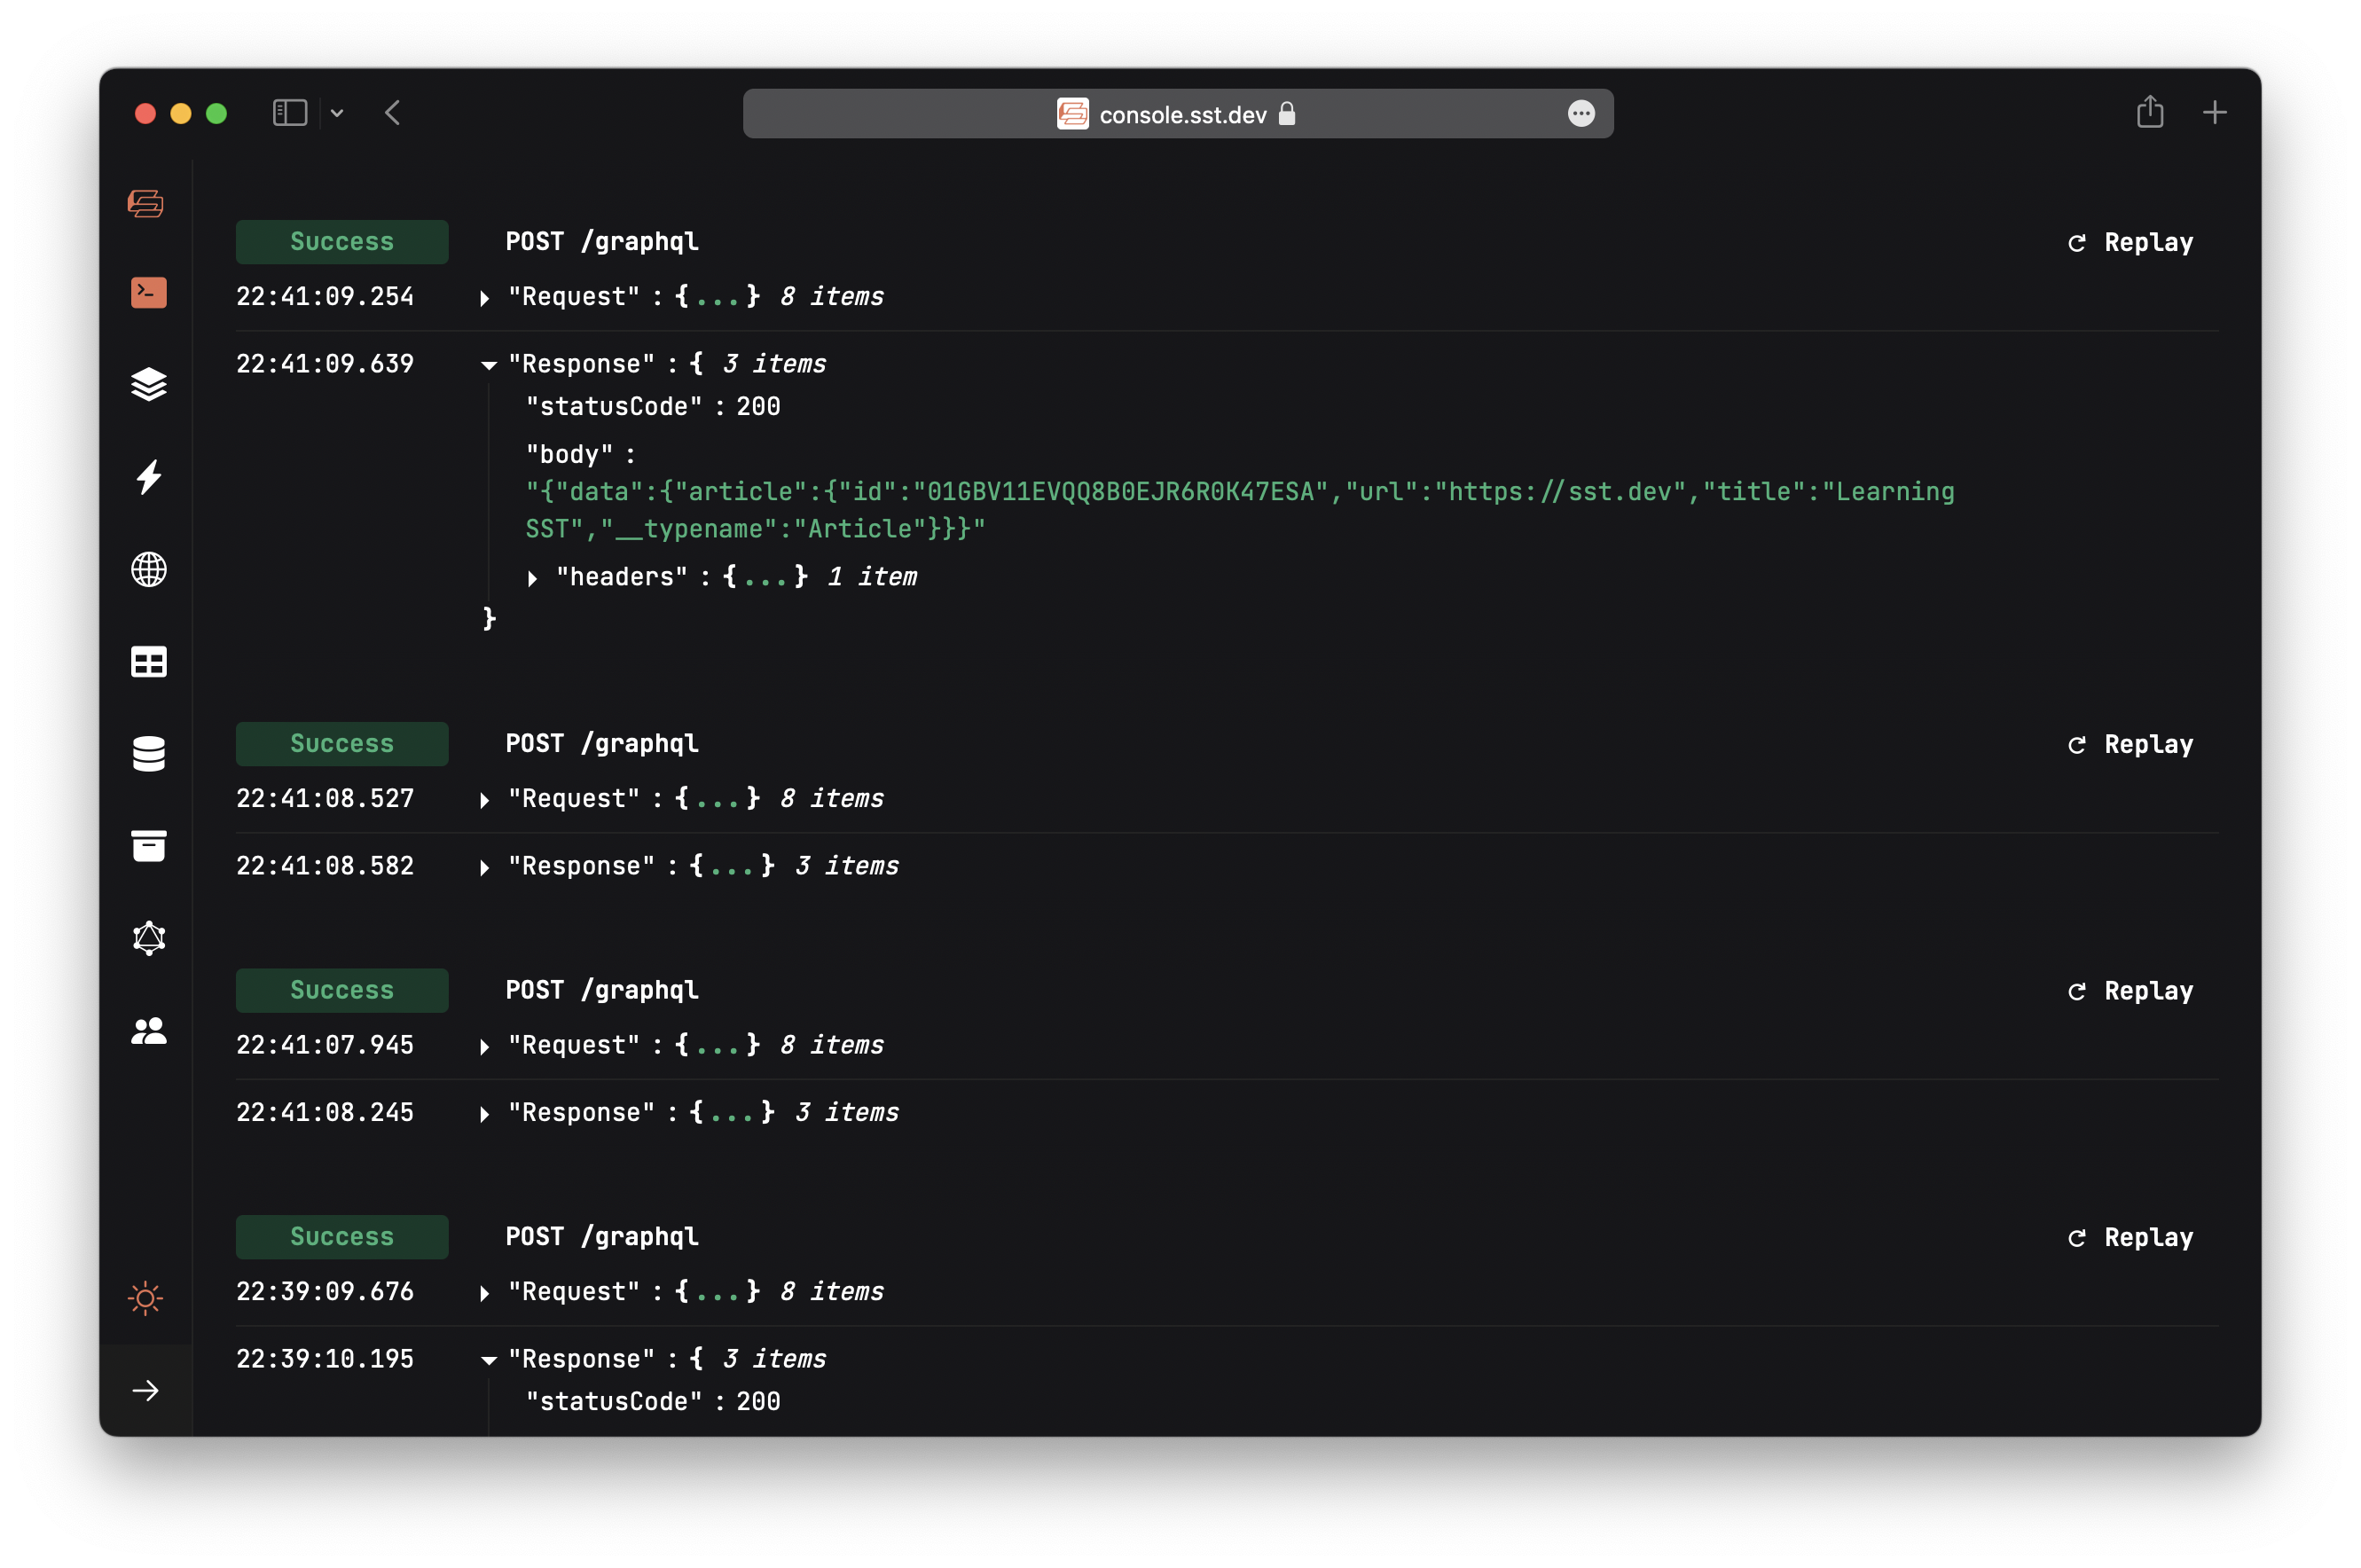
Again if we head back to the Console, you should see a new POST /graphql request. This time, creating creating the new article.
Next, let's quickly test our local dev environment by setting a breakpoint.