Initialize the Database
Now let's check back in on the sst dev command that we started in the Create a New Project chapter.
Once your local development environment is up and running, you should see the following printed out in the terminal.
SST v2.5.5  ready!

➜  App:     my-sst-app
   Stage:   Jay
We are now ready to initialize our database. We are using RDS with PostgreSQL in this setup.
RDS
RDS is a fully-managed database offering from AWS. It supports PostgreSQL and MySQL engines.
SST provisions a serverless flavour of it with the RDS construct. RDS will automatically scale up and down based on the load it's experiencing.
note
Serverless RDS can take a few minutes to autoscale up and down.
We'll use RDS with PostgreSQL in this tutorial because it is the most familiar option. We'll do a deep dive into a true serverless database like DynamoDB at a later date. Since DynamoDB is a NoSQL database that requires you to model your data a little differently.
Open the Console
Head over to the Console link in your browser — old.console.sst.dev
info
There's a new version of the SST Console (console.sst.dev). We'll be updating this tutorial soon. But for now let's use the older version.
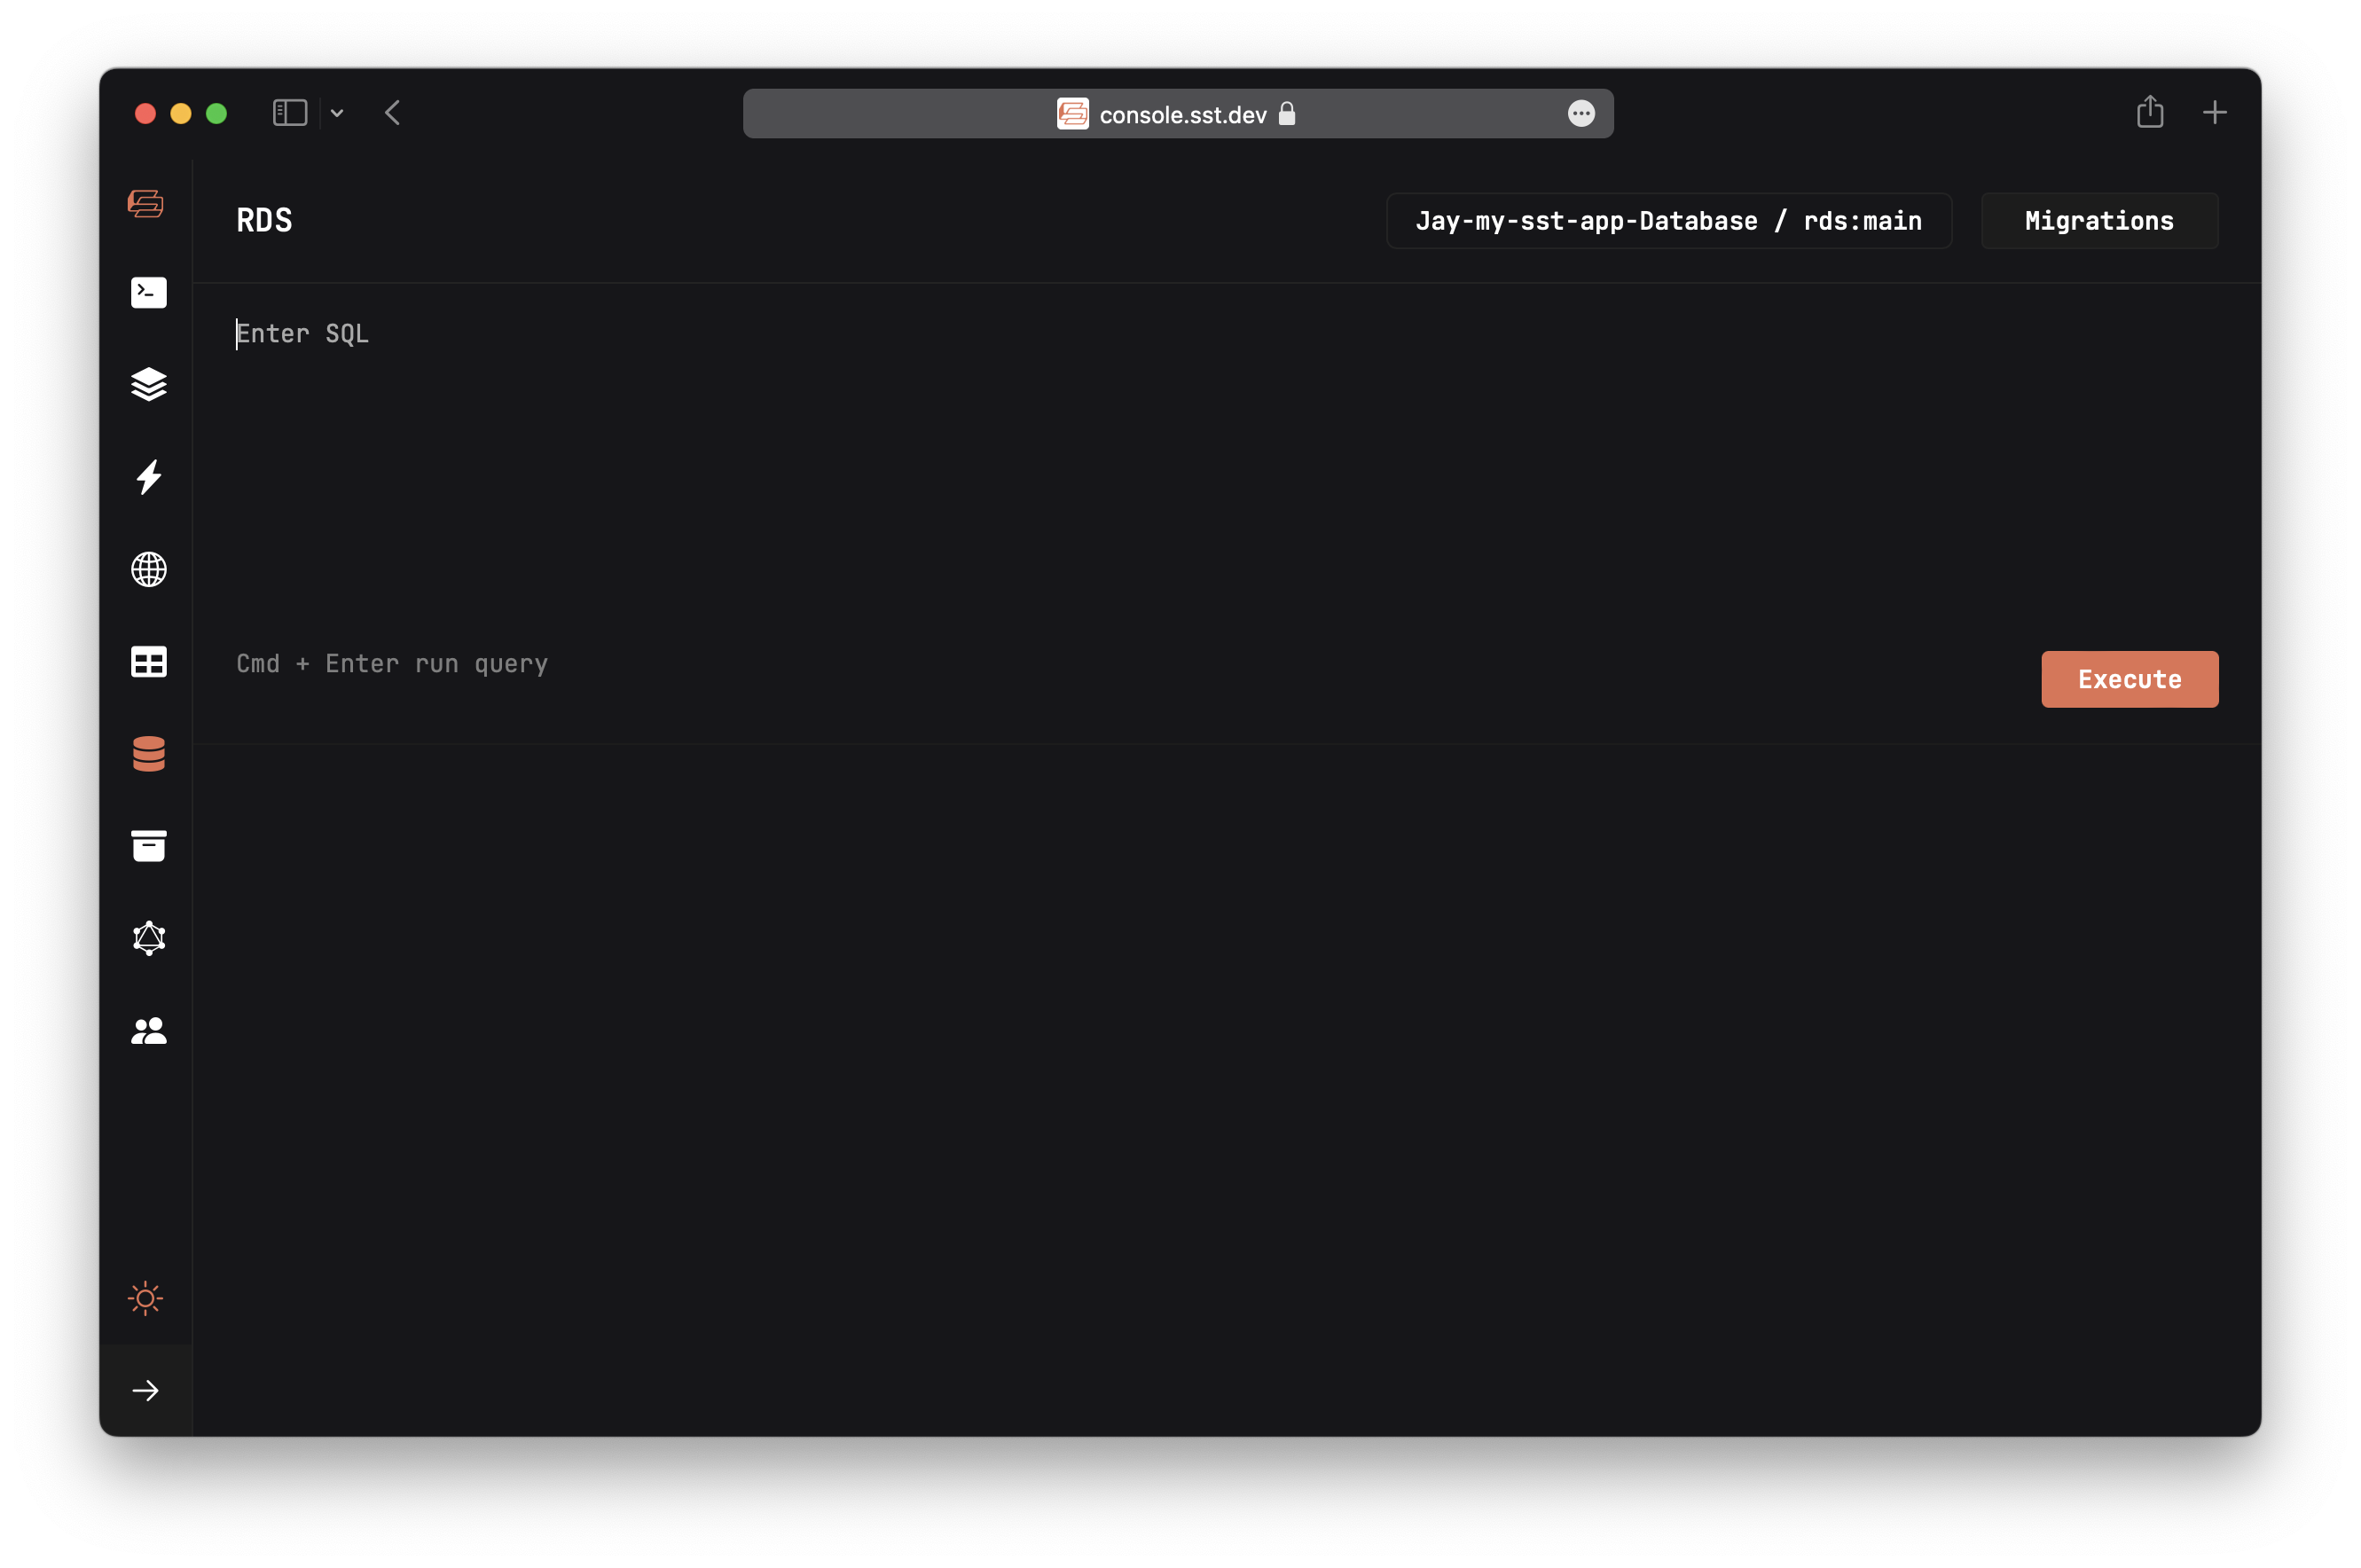
Then navigate to the RDS tab.
tip
The Console needs a self-signed certificate to work with Safari or Brave. Follow these steps to set it up.
At this point we don't have any tables in our database. To add them in, we are going to run a migration.
What is a migration
Migrations are a set of files that contain the queries necessary to make updates to our database schema. They have an up function, that's run while applying the migration. And a down function, that's run while rolling back the migration.
Recall from the Project Structure chapter that the migration files are placed in packages/core/migrations/.
The starter creates the first migration for you. It's called article and you'll find it in packages/core/migrations/1650000012557_article.mjs.
We use Kysely to build our SQL queries in a typesafe way. We use that for our migrations as well.
import { Kysely } from "kysely";

/**
 * @param db {Kysely<any>}
 */
export async function up(db) {
  await db.schema
    .createTable("article")
    .addColumn("articleID", "text", (col) => col.primaryKey())
    .addColumn("title", "text", (col) => col.notNull())
    .addColumn("url", "text", (col) => col.notNull())
    .addColumn("created", "timestamp", (col) => col.defaultTo("now()"))
    .execute();

  await db.schema
    .createIndex("idx_article_created")
    .on("article")
    .column("created")
    .execute();
}

/**
 * @param db {Kysely<any>}
 */
export async function down(db) {
  await db.schema.dropIndex("idx_article_created").execute();
  await db.schema.dropTable("article").execute();
}
In this case, our migration is creating a table, called article, to store the links that are submitted. We are also adding an index to fetch them. The down function just removes the table and the index.
info
Migration files are named with a timestamp to prevent naming conflicts when you are working with your team.
You can create a new migration from a template using a bash script. The script will ask for the name of a migration, then it'll generate a new file with the current timestamp.
- npm
- yarn
- pnpm
npm run gen migration new
yarn run gen migration new
pnpm run gen migration new
We'll do this later in the tutorial. For now, let's apply our first migration.
Run a migration
Click on the Migrations button on the top right, then click the Apply button on the article migration.
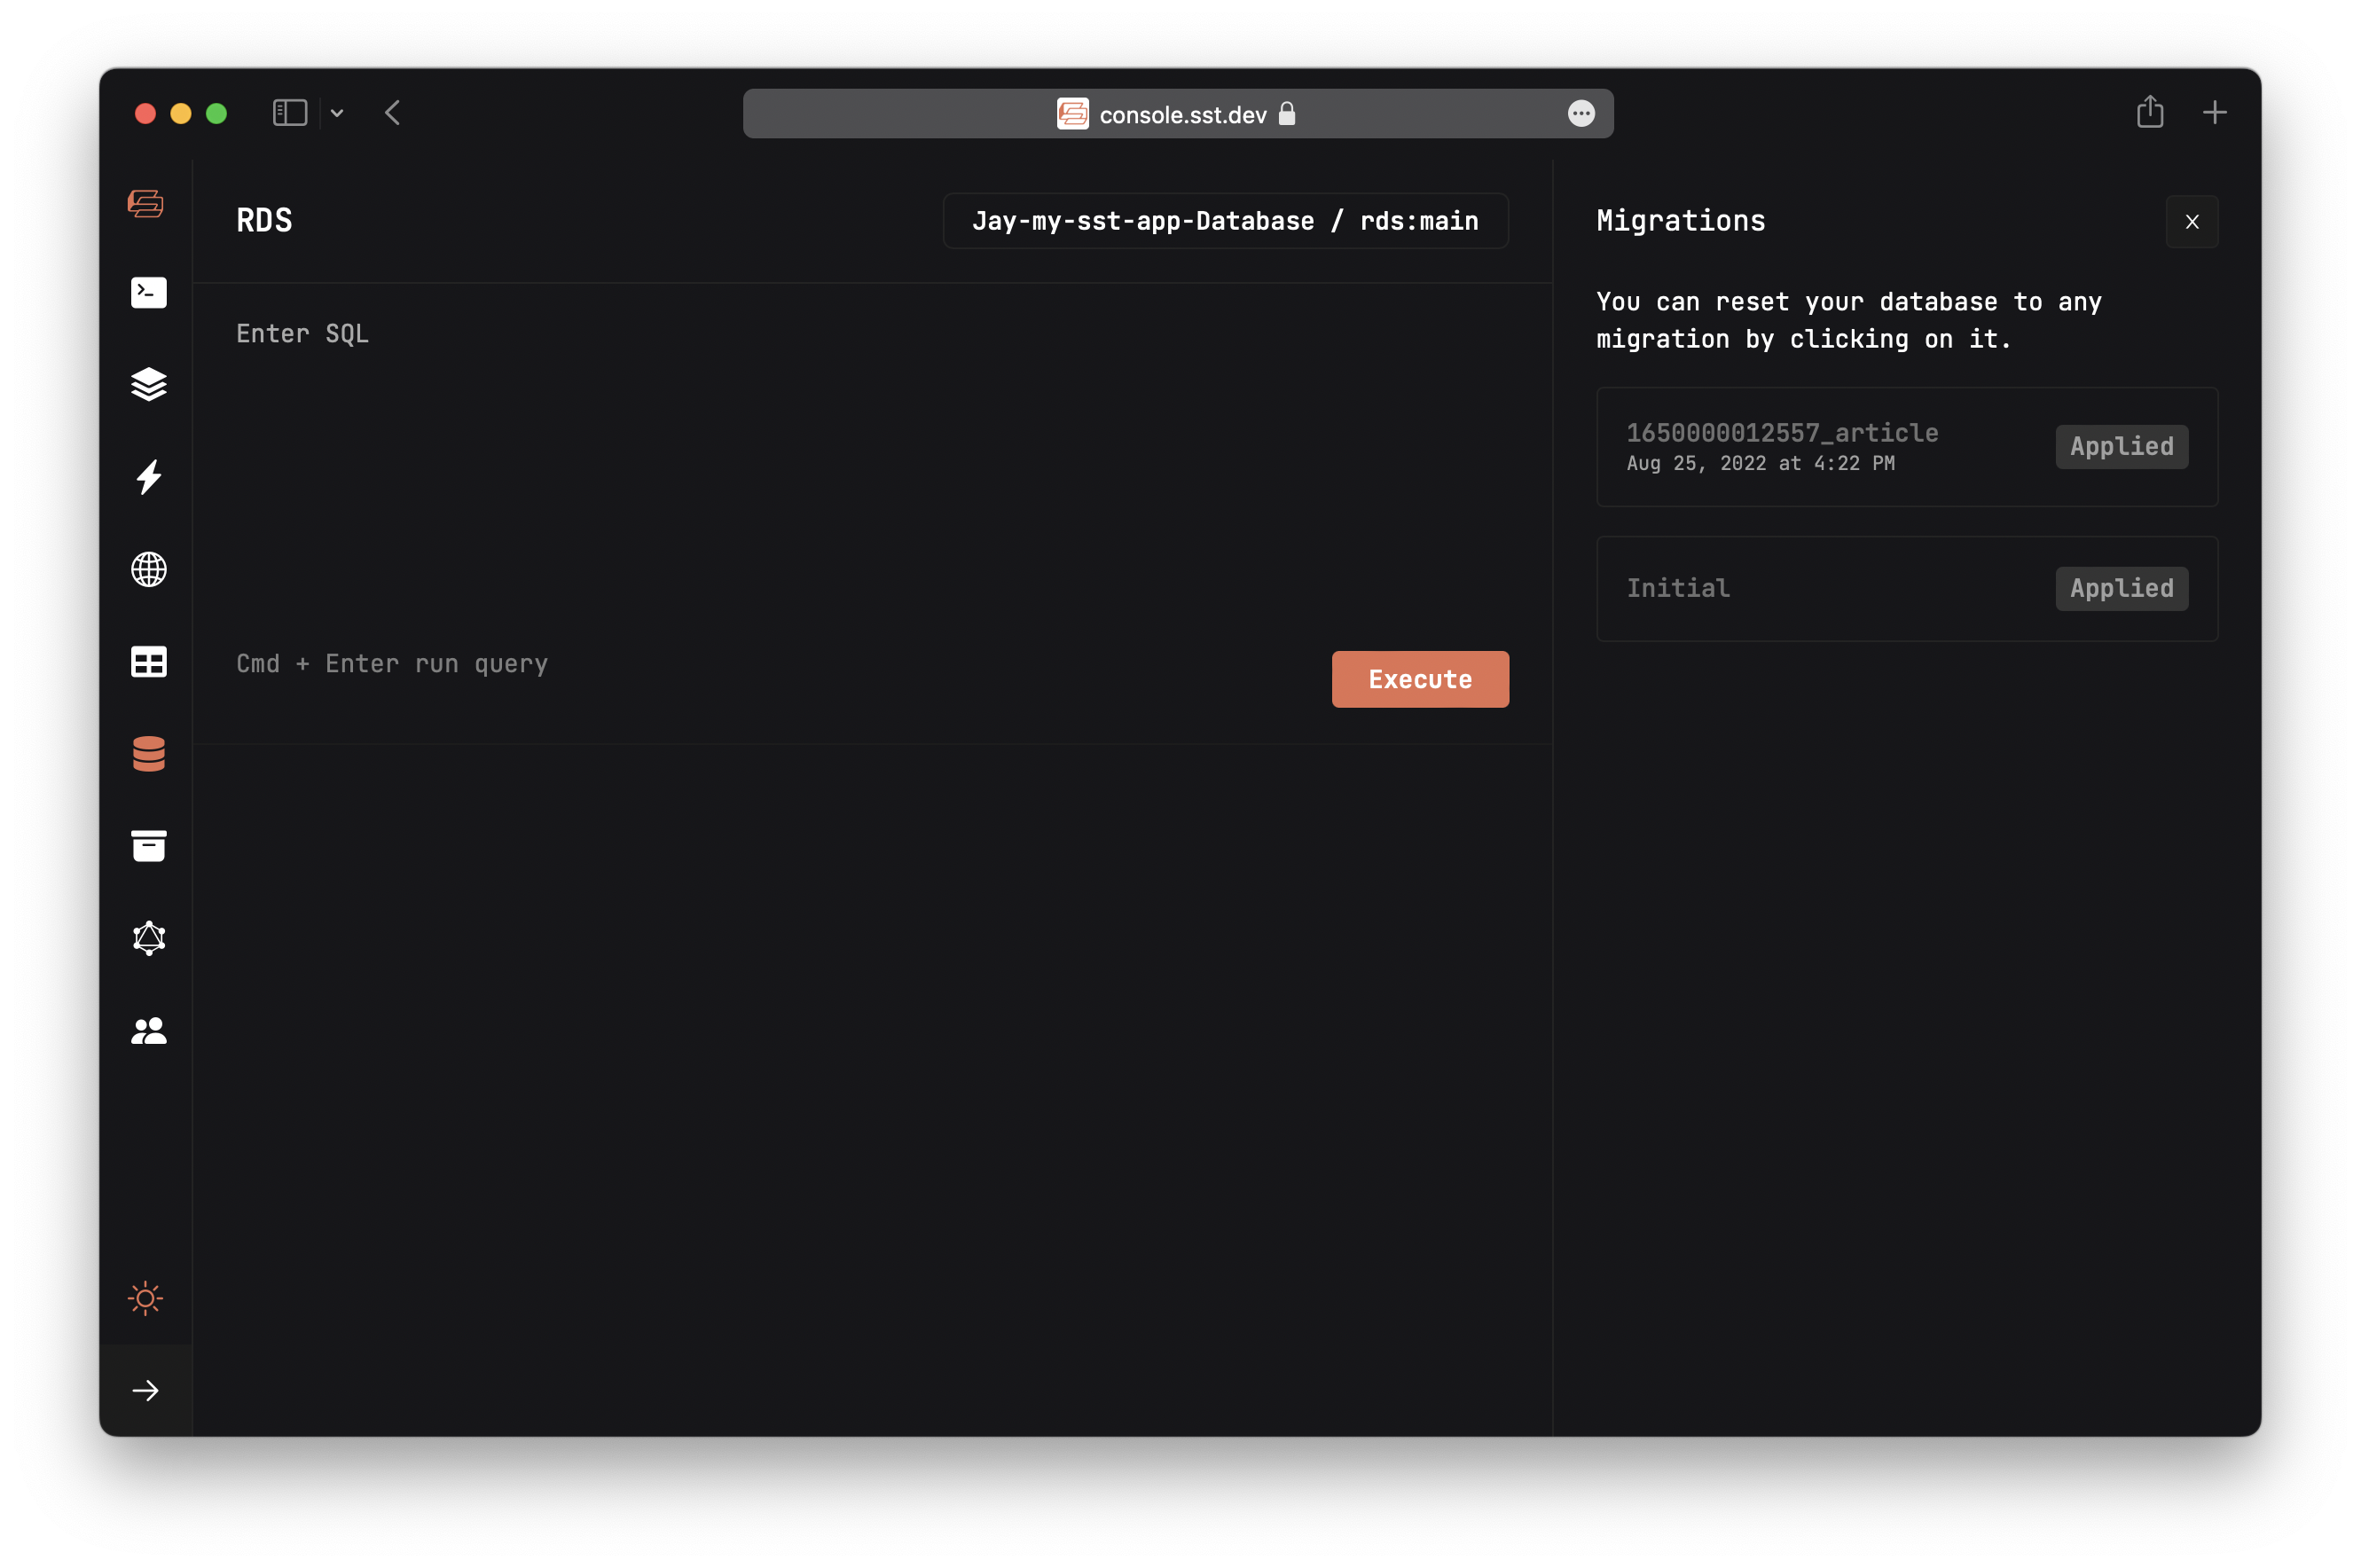
This'll create a table named article.
In the Migrations tab you'll see all the migrations in our app, and their status.
Run a query
To verify that the table has been created successfully; enter the following query into the query editor, and hit Execute.
SELECT * FROM article
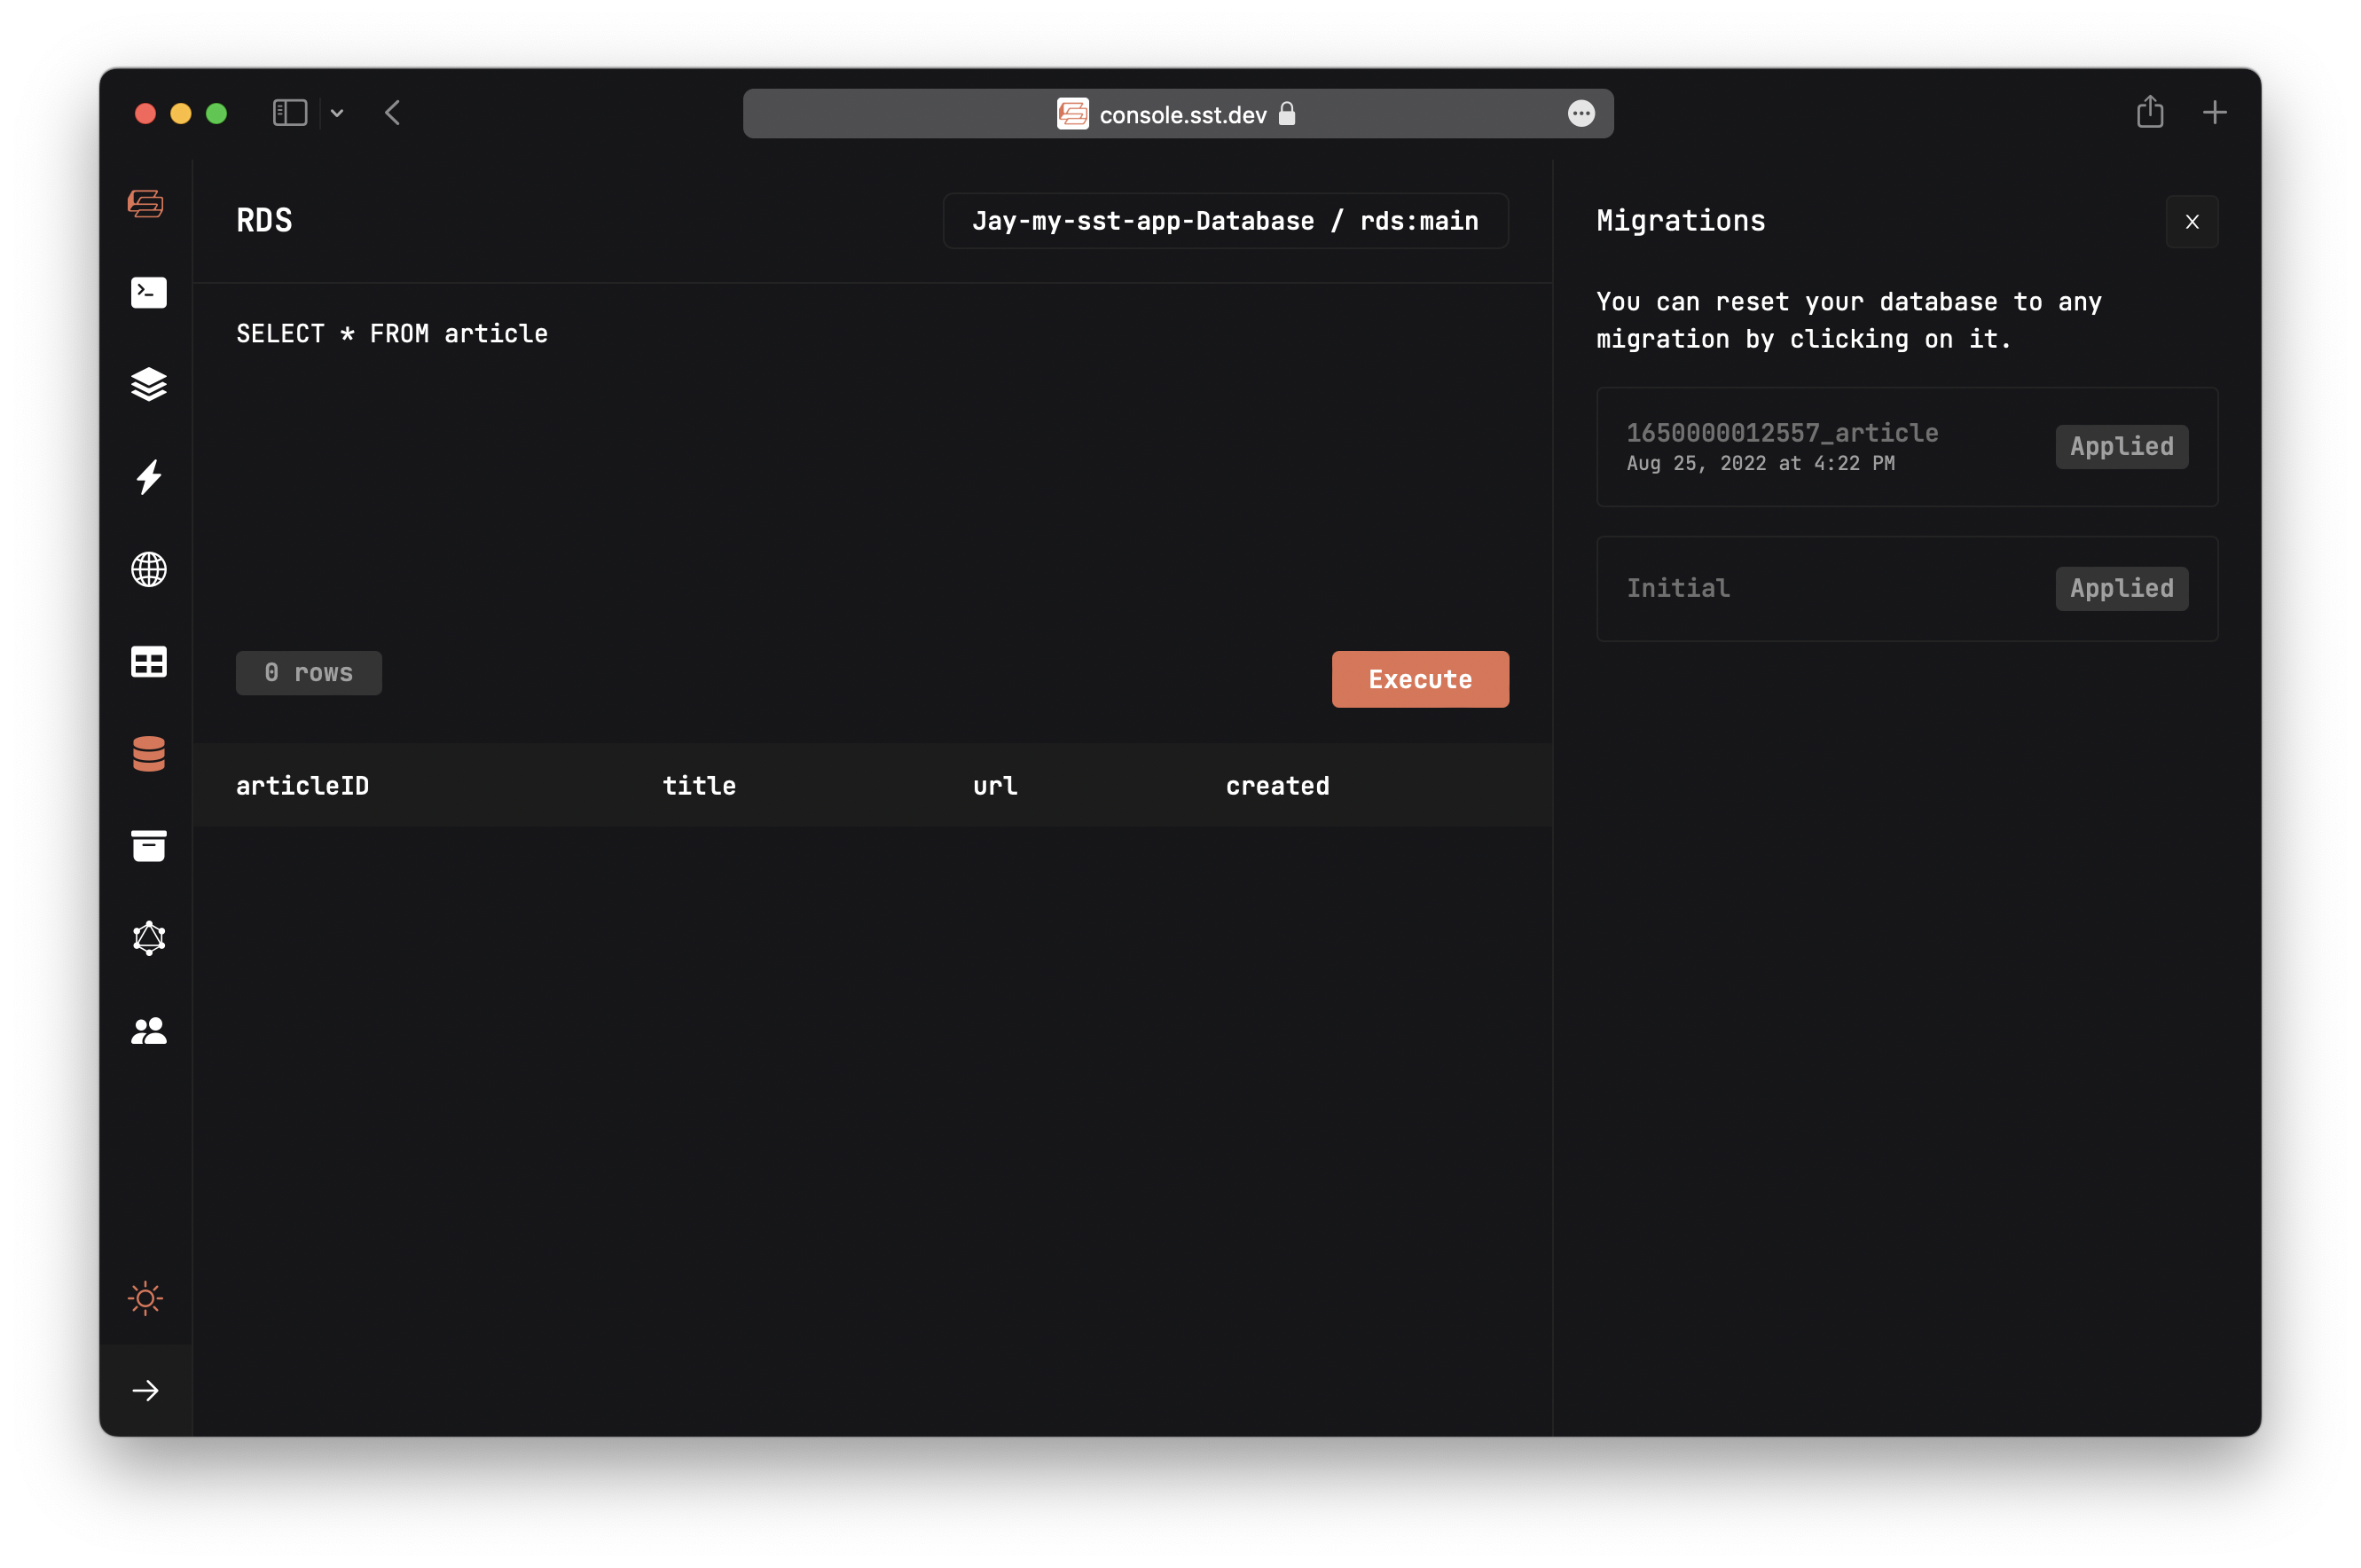
You should see the query returns 0 rows.
Behind the scenes
Let's quickly recap what we've done so far:
- We ran
sst devto start the Live Lambda Dev environment and the SST Console. - Deployed the infrastructure for our app to AWS:
- Including a RDS PostgreSQL database based on
stacks/Database.ts.
- Including a RDS PostgreSQL database based on
- We then opened up the Console and ran a migration in
packages/core/migrations/. - The migration created an
articletable that we'll use to store the links our users will submit. - Finally, to test that everything is working, we queried our database.
tip
We'll be sprinkling in Behind the scenes sections like the one above throughout this tutorial.
They are meant to be optional reading but can be really useful if you are trying to understand how things work behind the scenes.
Next, let's look at the frontend.