What is SST
SST is a framework that makes it easy to build modern full-stack applications on AWS.
Deploy a serverless Next.js, Svelte, Remix, Astro, or Solid app to your AWS account and add any backend feature to it.
Frontend
Start by defining, in code, the frontend you are using. SST supports the following.
Next.js
new NextjsSite(stack, "site", {
  customDomain: "my-next-app.com",
});
Behind the scenes, NextjsSite will create the infrastructure to host your serverless Next.js app on AWS. You can also configure it with your custom domain.
Svelte
Similarly there's SvelteKitSite for Svelte.
new SvelteKitSite(stack, "site", {
  customDomain: "my-svelte-app.com",
});
Remix
new RemixSite(stack, "site", {
  customDomain: "my-remix-app.com",
});
Astro
new AstroSite(stack, "site", {
  customDomain: "my-astro-app.com",
});
Solid
And the SolidStartSite for Solid.
new SolidStartSite(stack, "site", {
  customDomain: "my-solid-app.com",
});
Static sites
There's also the StaticSite for any static site builder.
new StaticSite(stack, "site", {
  path: "web",
  buildOutput: "dist",
  buildCommand: "npm run build",
  customDomain: "my-static-site.com",
});
Just specify the build command and point to where the output is generated.
Infrastructure
The above snippets are a way of defining the features of your application in code. You can define any feature of your application, not just the frontend.
You can add backend features like APIs, databases, cron jobs, and more. All without ever using the AWS Console.
Constructs
These snippets are called Constructs. They are TypeScript or JavaScript classes, where each class corresponds to a feature and it can be configured through its props.
const site = new NextjsSite(stack, "site", {
  /** props **/
});
We recommend using TypeScript because it allows for full type safety while configuring your application.
Stacks
Constructs are grouped into stacks. They allow you to organize the infrastructure in your application.
export function Web({ stack }: StackContext) {
  const site = new NextjsSite(stack, "site");
}
Each stack is just a function that creates a set of constructs.
App
Finally, you add all your stacks to your app in the sst.config.ts.
export default {
  config() {
    return {
      name: "my-sst-app",
      region: "us-east-1",
    };
  },
  stacks(app) {
    app.stack(Database).stack(Api).stack(Web);
  },
} satisfies SSTConfig;
Now let's look at how you can add the backend for your app with these constructs.
Backend
SST has constructs for most backend features. And you can even use any AWS service in your app.
APIs
For example, with the Api construct you can define an API in a few lines.
new Api(stack, "api", {
  routes: {
    "GET  /notes": "functions/list.main",
    "POST /notes": "functions/create.main",
  },
});
Behind the scenes, this creates a serverless API using Amazon API Gateway, where each route points to a Lambda function.
Functions
So when a user hits the /notes route in your API.
"GET /notes": "functions/list.main"
The main function in functions/list.ts gets executed. The API then responds with what's returned.
export async function main() {
  return {
    statusCode: 200,
    body: JSON.stringify([
      /** list of notes **/
    ]),
  };
}
Your functions can be in TypeScript, JavaScript, Python, Golang, Java, or C#.
Databases
You can add a serverless database to your app. For example, the RDS construct configures a new Amazon RDS serverless PostgreSQL cluster.
new RDS(stack, "notesDb", {
  engine: "postgresql11.13",
  defaultDatabaseName: "main",
  migrations: "services/migrations",
});
In addition to SQL databases, SST also supports Amazon DynamoDB, a NoSQL serverless database.
File uploads
Or create S3 buckets to support file uploads in your application.
new Bucket(stack, "public");
Cron jobs
And add cron jobs to your application with a few lines. Here's a cron job that calls a function every minute.
new Cron(stack, "cron", {
  schedule: "rate(1 minute)",
  job: "functions/cronjob.main",
});
SST also has constructs for Auth, Queues, Pub/Sub, Data Streams, and more.
All AWS services
Aside from the features that SST's constructs support, you can add any AWS service to your app. This is because SST is built on top of AWS CDK and you can use any CDK construct in SST.
Here we are defining an Amazon ECS cluster with an AWS CDK construct.
import * as ecs from "aws-cdk-lib/aws-ecs";

const cluster = new ecs.Cluster(stack, "Cluster", {
  vpc,
});
This ensures that as your app grows, you'll be able to add any feature you need.
Connecting everything
Once you've added a couple of features, SST can help you connect them together. This is great because you won't need to hardcode anything in your app.
For example, you can bind an S3 bucket to your Next.js app.
const bucket = new Bucket(stack, "public");

new NextjsSite(stack, "site", {
  // ...
  bind: [bucket],
});
You can then connect to the S3 bucket in Next.js without hardcoding the bucket name.
import { Bucket } from "sst/node/bucket";

export async function getServerSideProps() {
  const name = Bucket.public.bucketName;
}
Behind the scenes SST also adds the required permissions, so only your Next.js app has access to the bucket.
Project structure
We've looked at a couple of different types of files. Let's take a step back and see what an SST app looks like in practice.
Standalone mode
Running npm create sst generates a standalone SST app. It's monorepo by default.
my-sst-app
├─ sst.config.ts
├─ package.json
├─ packages
│  ├─ functions
│  ├─ core
│  └─ web
└─ stacks
Where you can add your frontend to the packages/web/ directory, packages/functions/ are for backend functions, packages/core/ is for any shared business logic. Finally, stacks/ has your infrastructure definitions.
Drop-in mode
SST can also be used as a part of your frontend app. For example, if you run npm create sst inside a Next.js app, it'll drop a sst.config.ts in your project.
my-nextjs-app
├─ next.config.js
├─ sst.config.ts
├─ package.json
├─ public
├─ styles
└─ pages
This is great if you have a simple Next.js app and you just want to deploy it to AWS with SST.
SST CLI
To help with building and deploying your app, SST comes with a CLI.
Local dev
The sst dev command starts a local development environment called Live Lambda, that connects directly to AWS. Letting you set breakpoints and test your functions locally.
npx sst dev
Now you can start your frontend with the sst bind command and it'll connect your frontend to the backend.
sst bind next dev
With this you can make changes to your backend on AWS, and see them directly in your frontend!
Deployment
To deploy your application to AWS, you use the sst deploy command. It uses your local IAM credentials and deploys to your AWS account.
npx sst deploy
Since everything in your app is connected, this single command is all you need. Once complete, it'll print out your app's URL!
Outputs:
  ApiEndpoint: https://ck198mfop1.execute-api.us-east-1.amazonaws.com
  SiteUrl: https://my-next-app.com
Behind the scenes, it compiles the constructs to AWS CloudFormation, packages your frontend assets and functions, uploads it to AWS, and creates your app's infrastructure.
Environments
The sst deploy command can also deploy your app to a specific stage or environment. This lets you create separate environments for development, production, pull-requests, or branches.
# Deploy to dev
npx sst deploy --stage dev

# Deploy to production
npx sst deploy --stage prod
You can use this in your GitHub Actions workflow to generate pull-request based environments.
Or, you can get automatic preview environments with SEED, a service built by the SST team.
SST Console
The SST Console is a web based dashboard for managing your SST apps with your team.
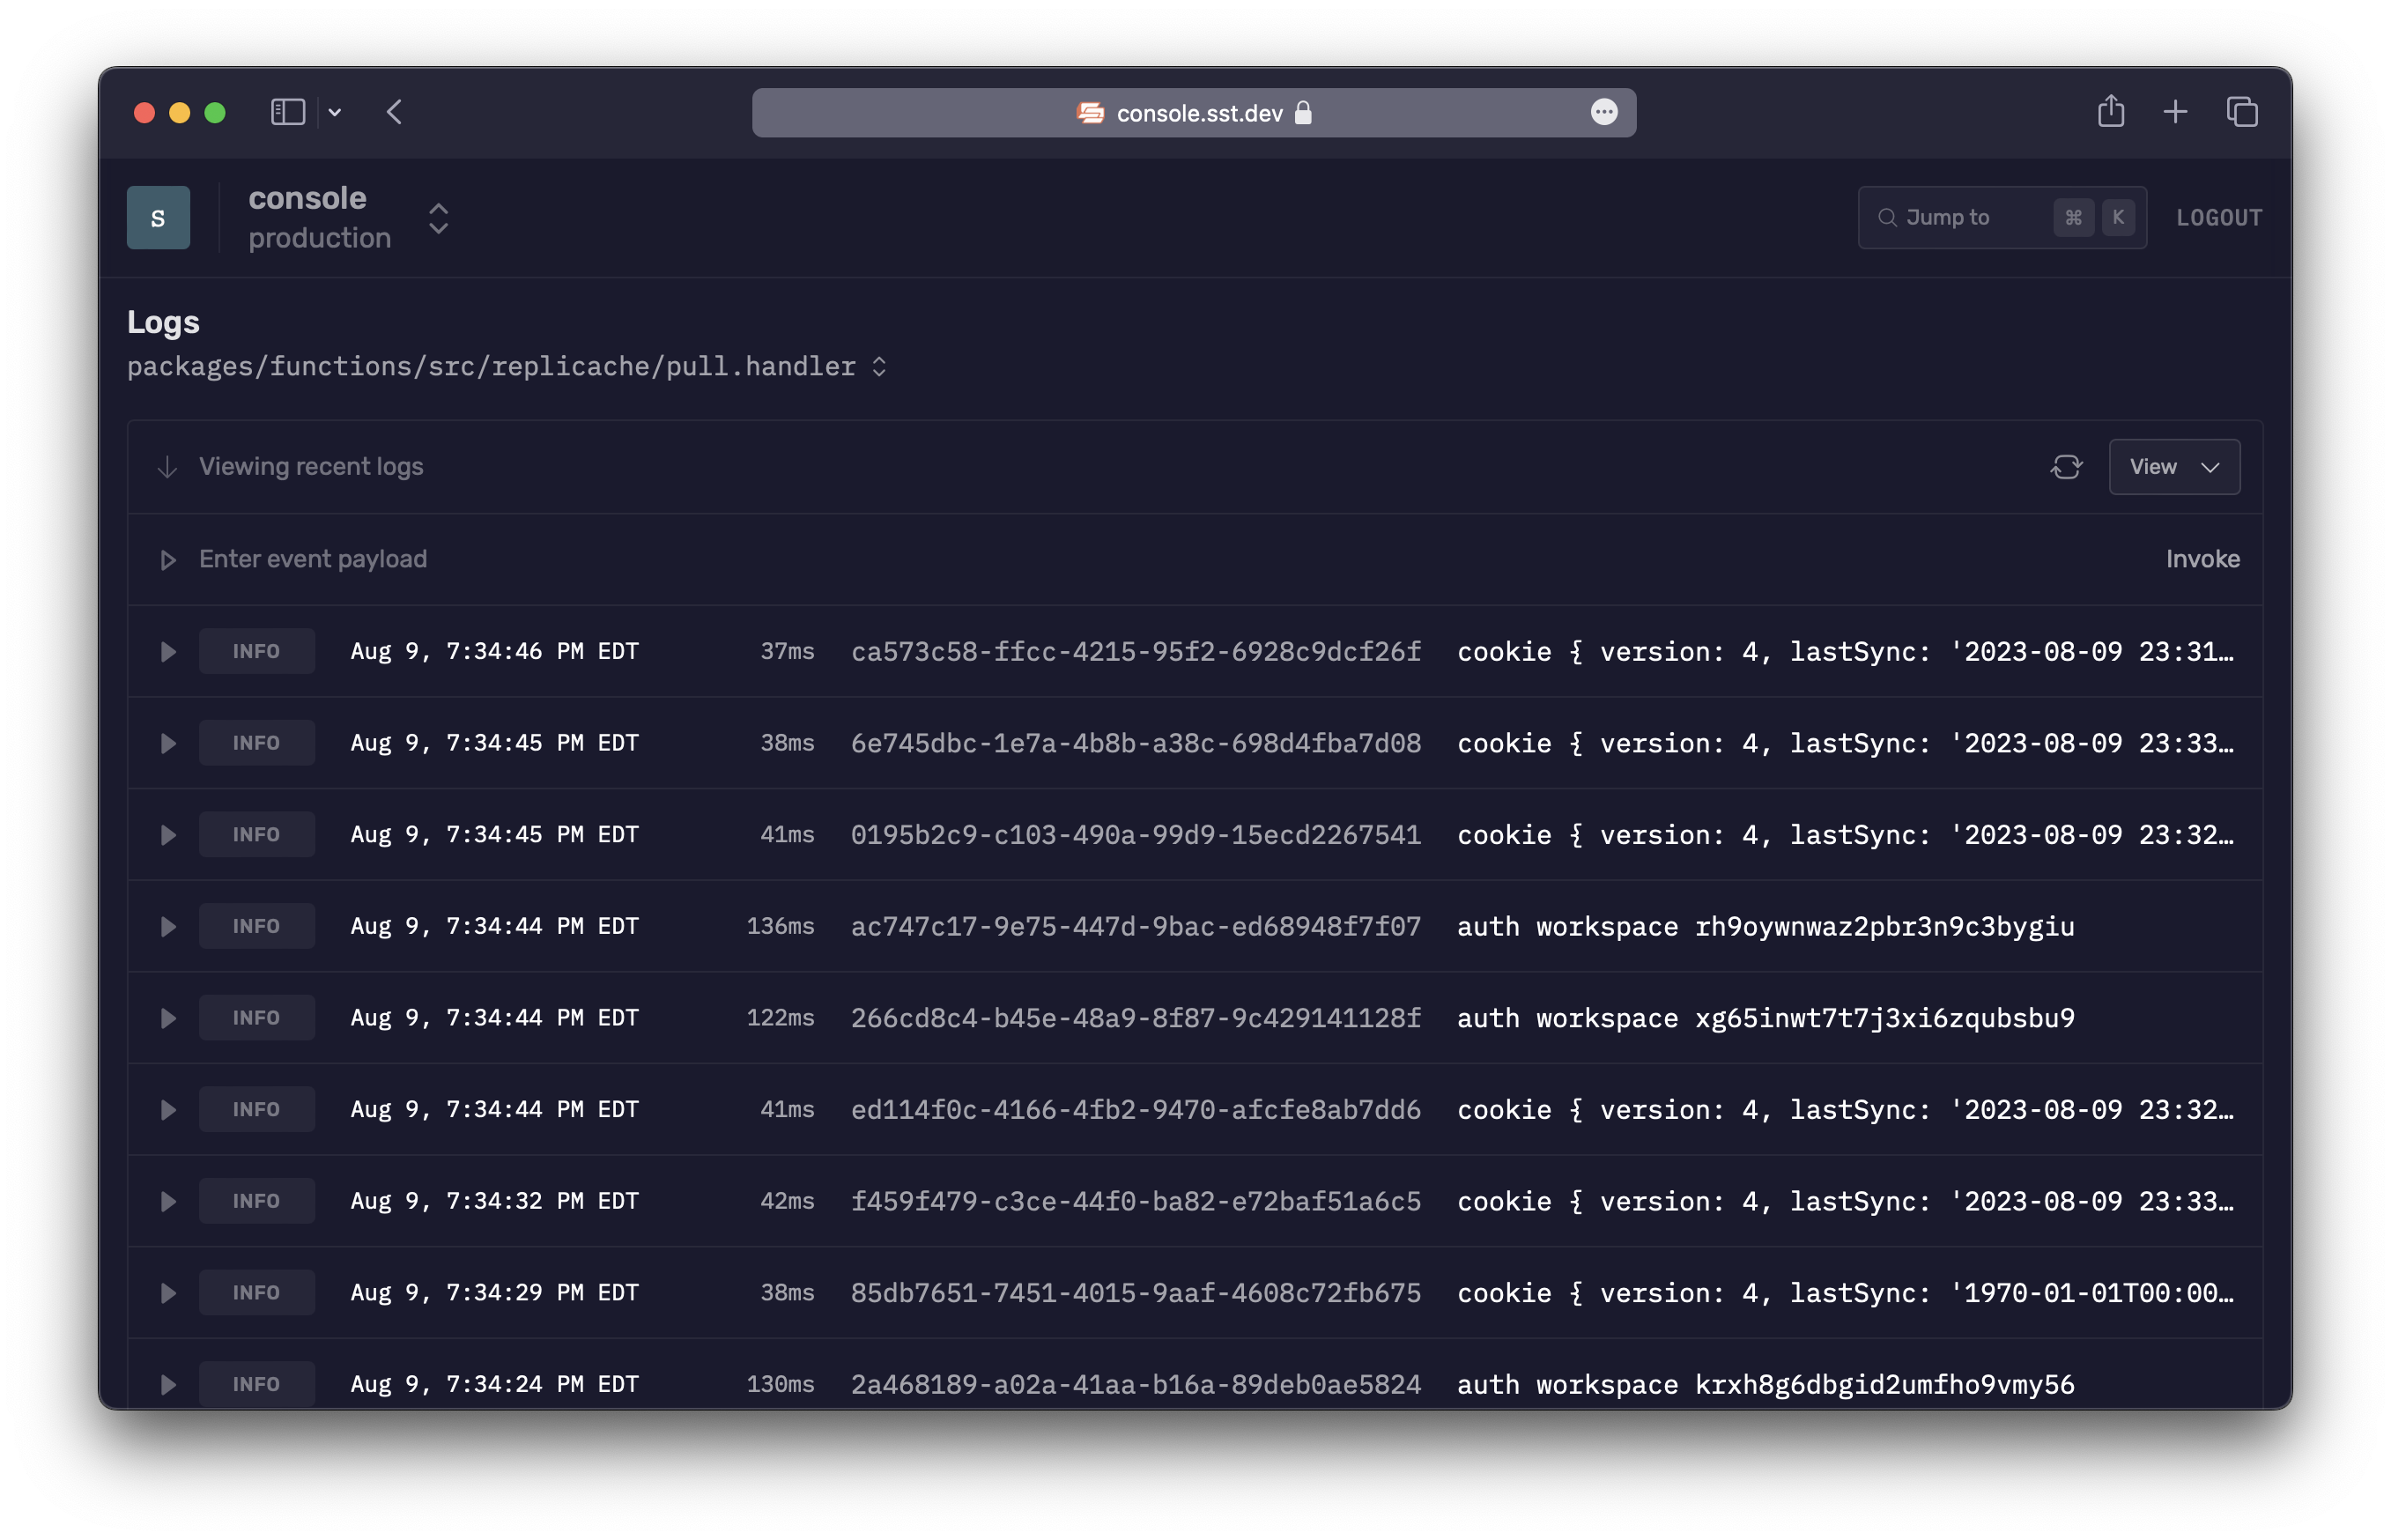
With the Console you can view and interact with your application in real-time. You can manually invoke functions, view logs, replay invocations, and more with your team.
Next steps
- Create your first SST app
- Ready to dive into the details of SST? Check out our guide.